

Creating and Managing a listing
Why a robust Marketplace listing matters
Customizing your marketplace listing is crucial for increasing visibility, improving engagement, and driving conversions. By highlighting your unique value propositions, you can stand out, attract relevant customers and partners, and build stronger relationships.
After activating your partner account, you can start creating or updating your listing. The required content will vary based on the specific listing content and requirements set by your partner.
Your dashboard view will also vary depending on the resources and folders predefined by your partner.
Create a New Listing
To create your listing, click on the + New Marketplace Listing button.
See Screenshot
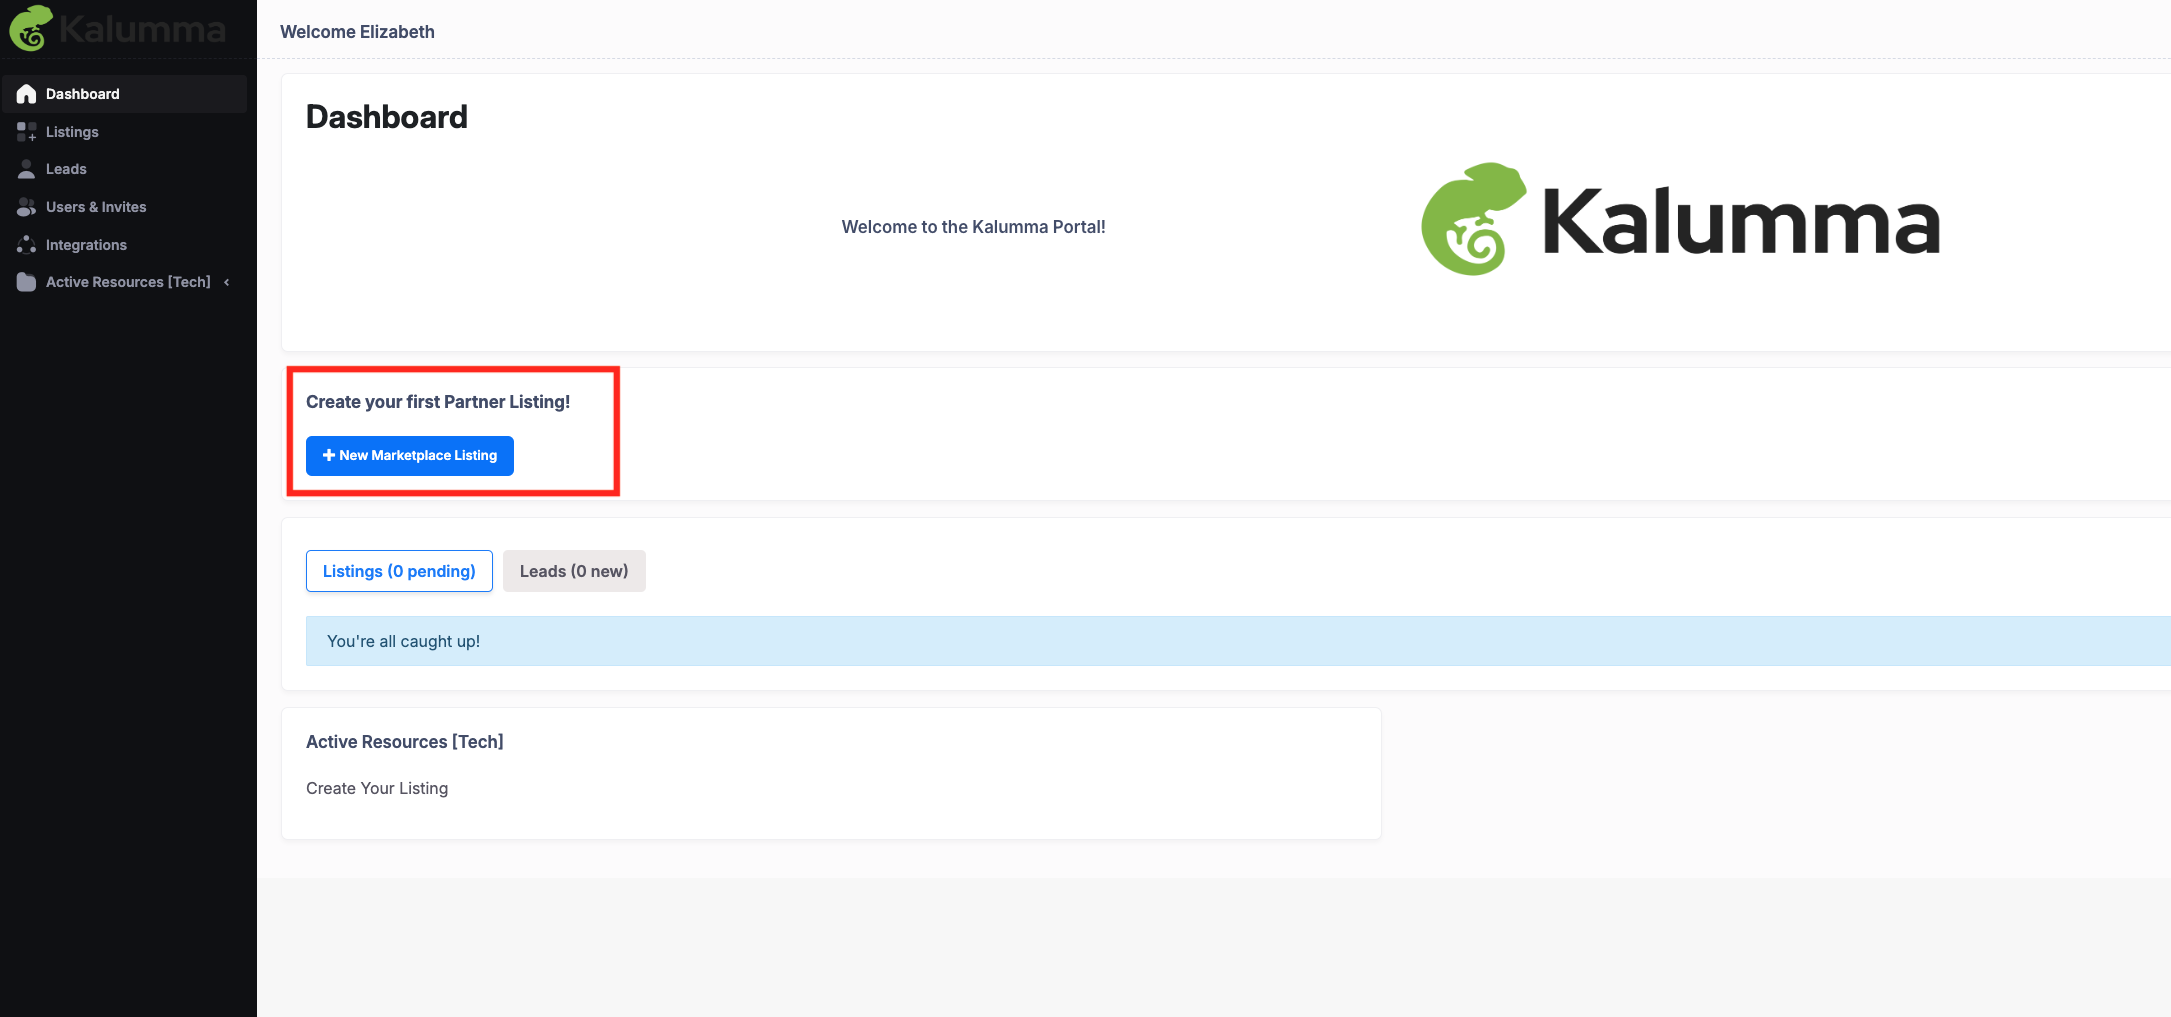
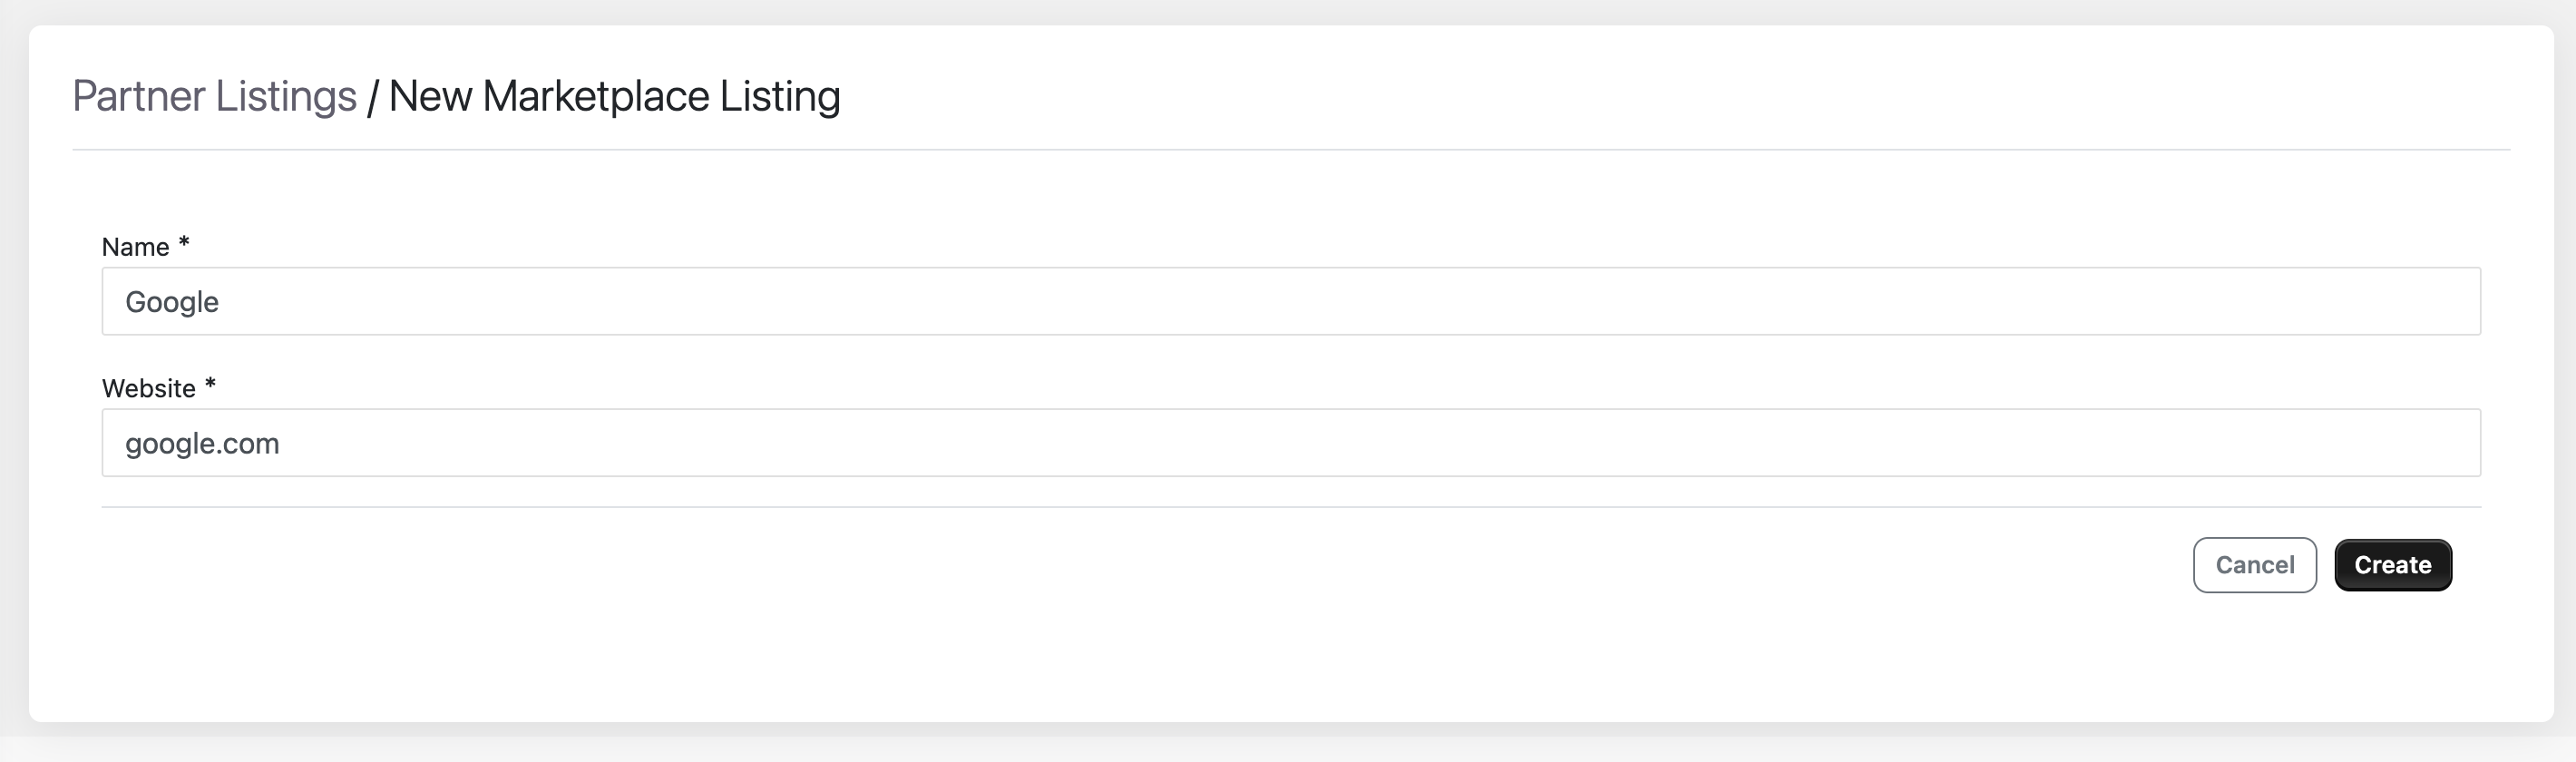
Add Name and Website
Adding a website triggers our brand fetch integration, which will pre-populate the card logo, card tagline, and listing description. Having this basic information already added to your listing streamlines the creation process. You can always remove or replace this content with your desired information.
In some instances this step may have already been done by your partners so there's
Click "Create" if you are ready to move onto the next step.
See Screenshot
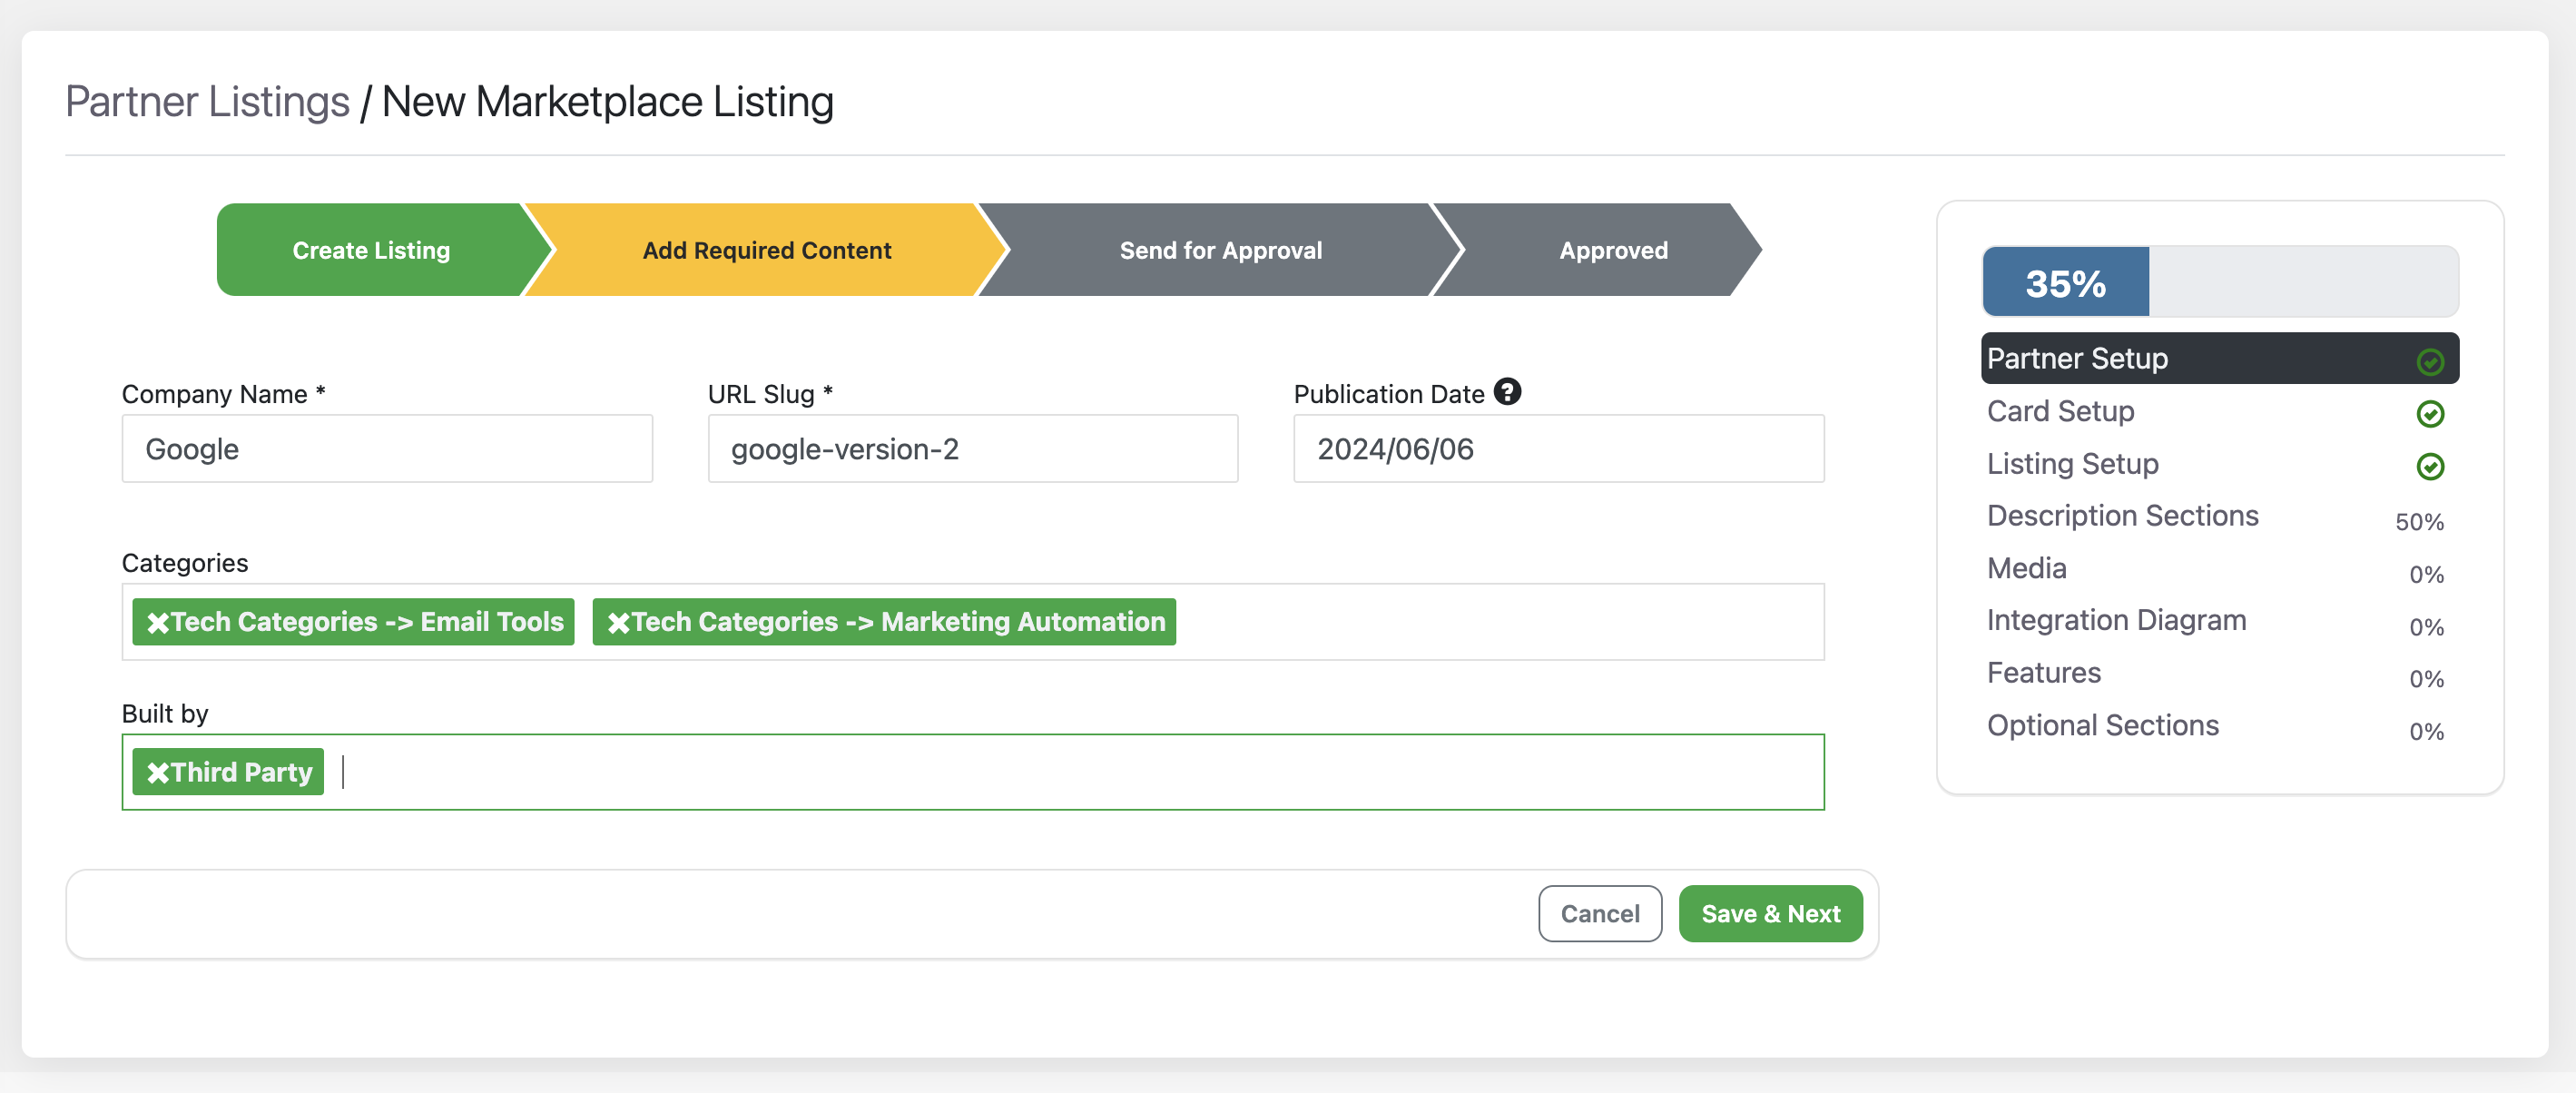
You will then enter the guided onboarding flow, which takes you step-by-step through building your listing.
Depending on the listing content and requirements selected by your partner, your steps may differ from this example.
Manage your Listing
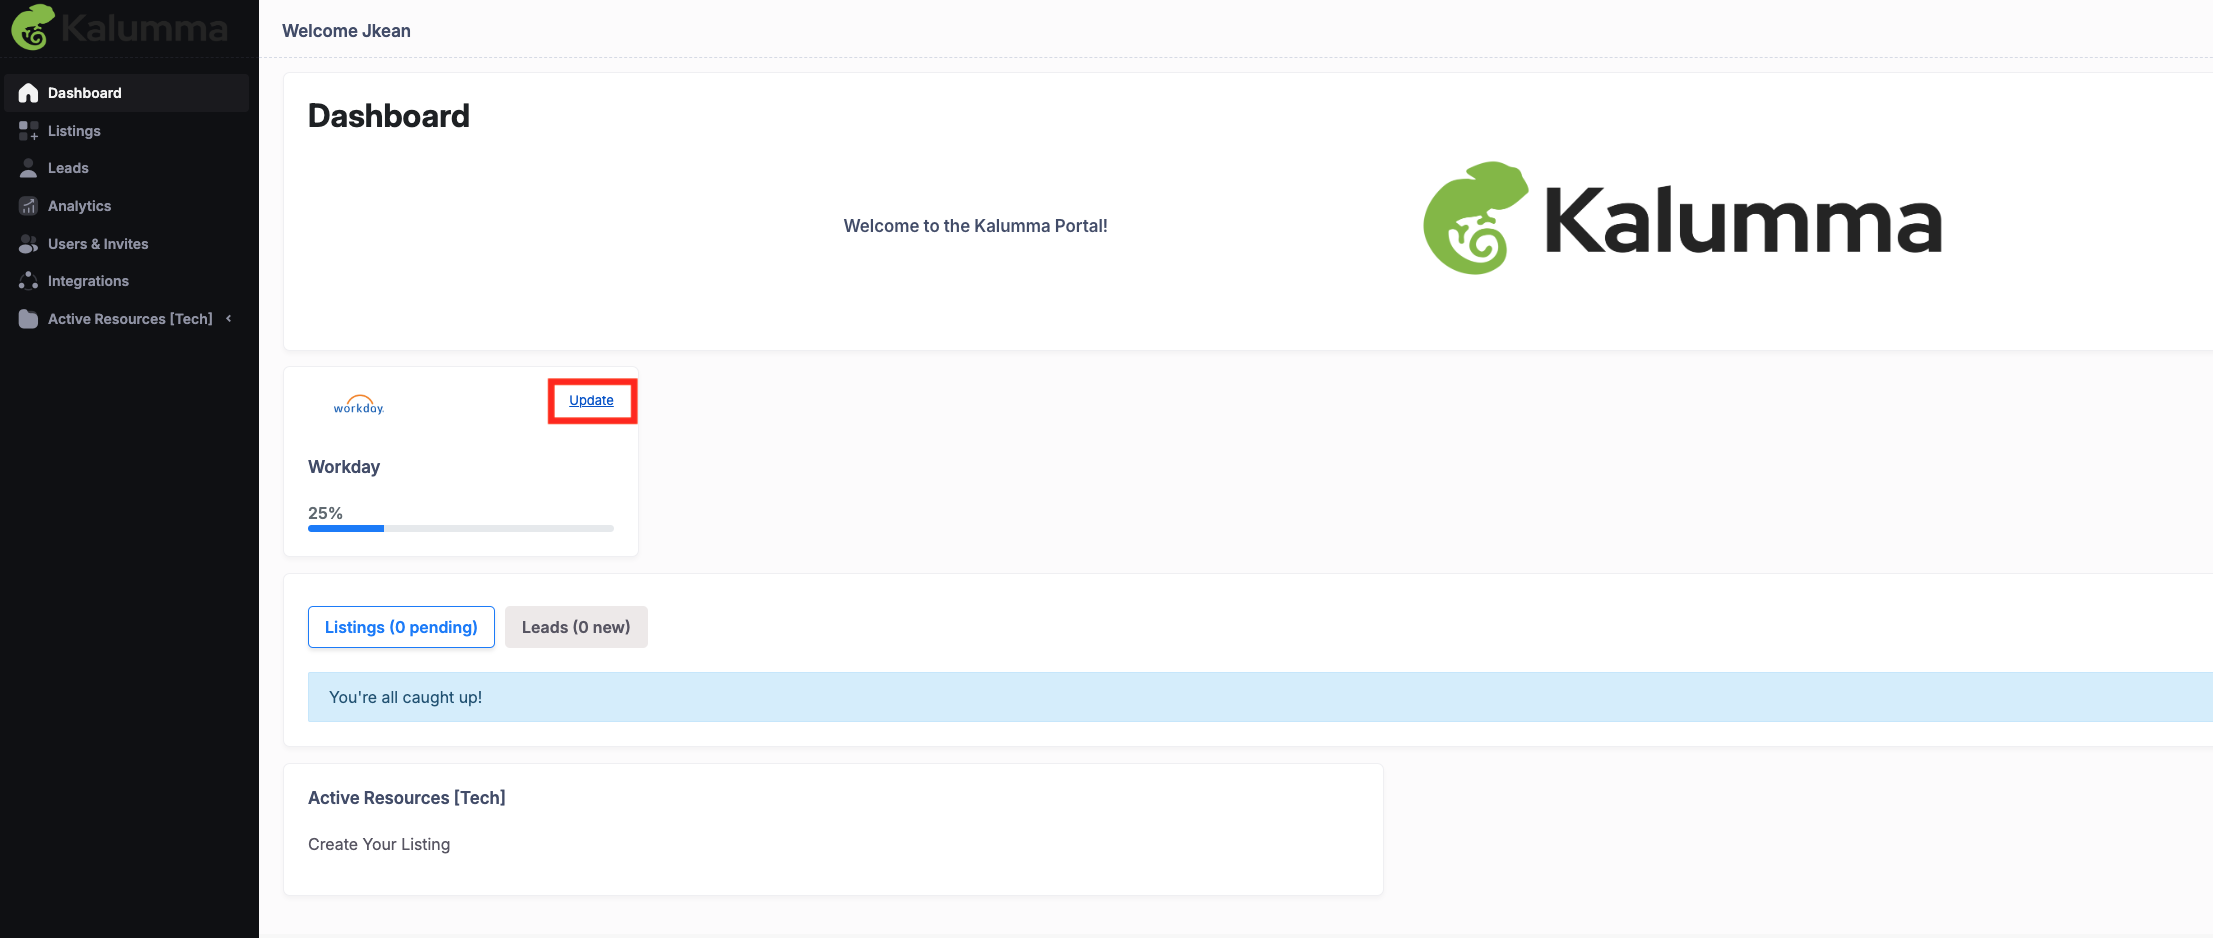
If your partner has already started creating your listing, your screen may look slightly different. To continue editing, adding content, or making updates, simply click Update. This will allow you to adjust listing details, add media, descriptions, and other essential content to make your listing more engaging and complete.
Once you click Update you will be brought directly to the Layout Overview where you can finish adding any required or optional content.
See Screenshot
Add Required Content
Required content must be added to complete your listing and submit it for approval. These sections may vary based on the requirements set by your partner.
As you complete these sections, the percentage status bar in the right-hand side navigation will increase, reflecting your progress.
Partner Setup:This section includes fields for the Company Name, URL Slug, and Publication Date, indicating when the listing will be live on the front end. It also features dropdown menus for selecting categories and filters.
Click "Save & Next" to proceed to the next section.
See Screenshot
Card Setup:This section is for adding the Card Logo and Card Tagline, which have already been pre-populated by the brand fetch integration. You can easily update and override this information if needed.
Click "Save & Next" to proceed to the next section.
See Screenshot
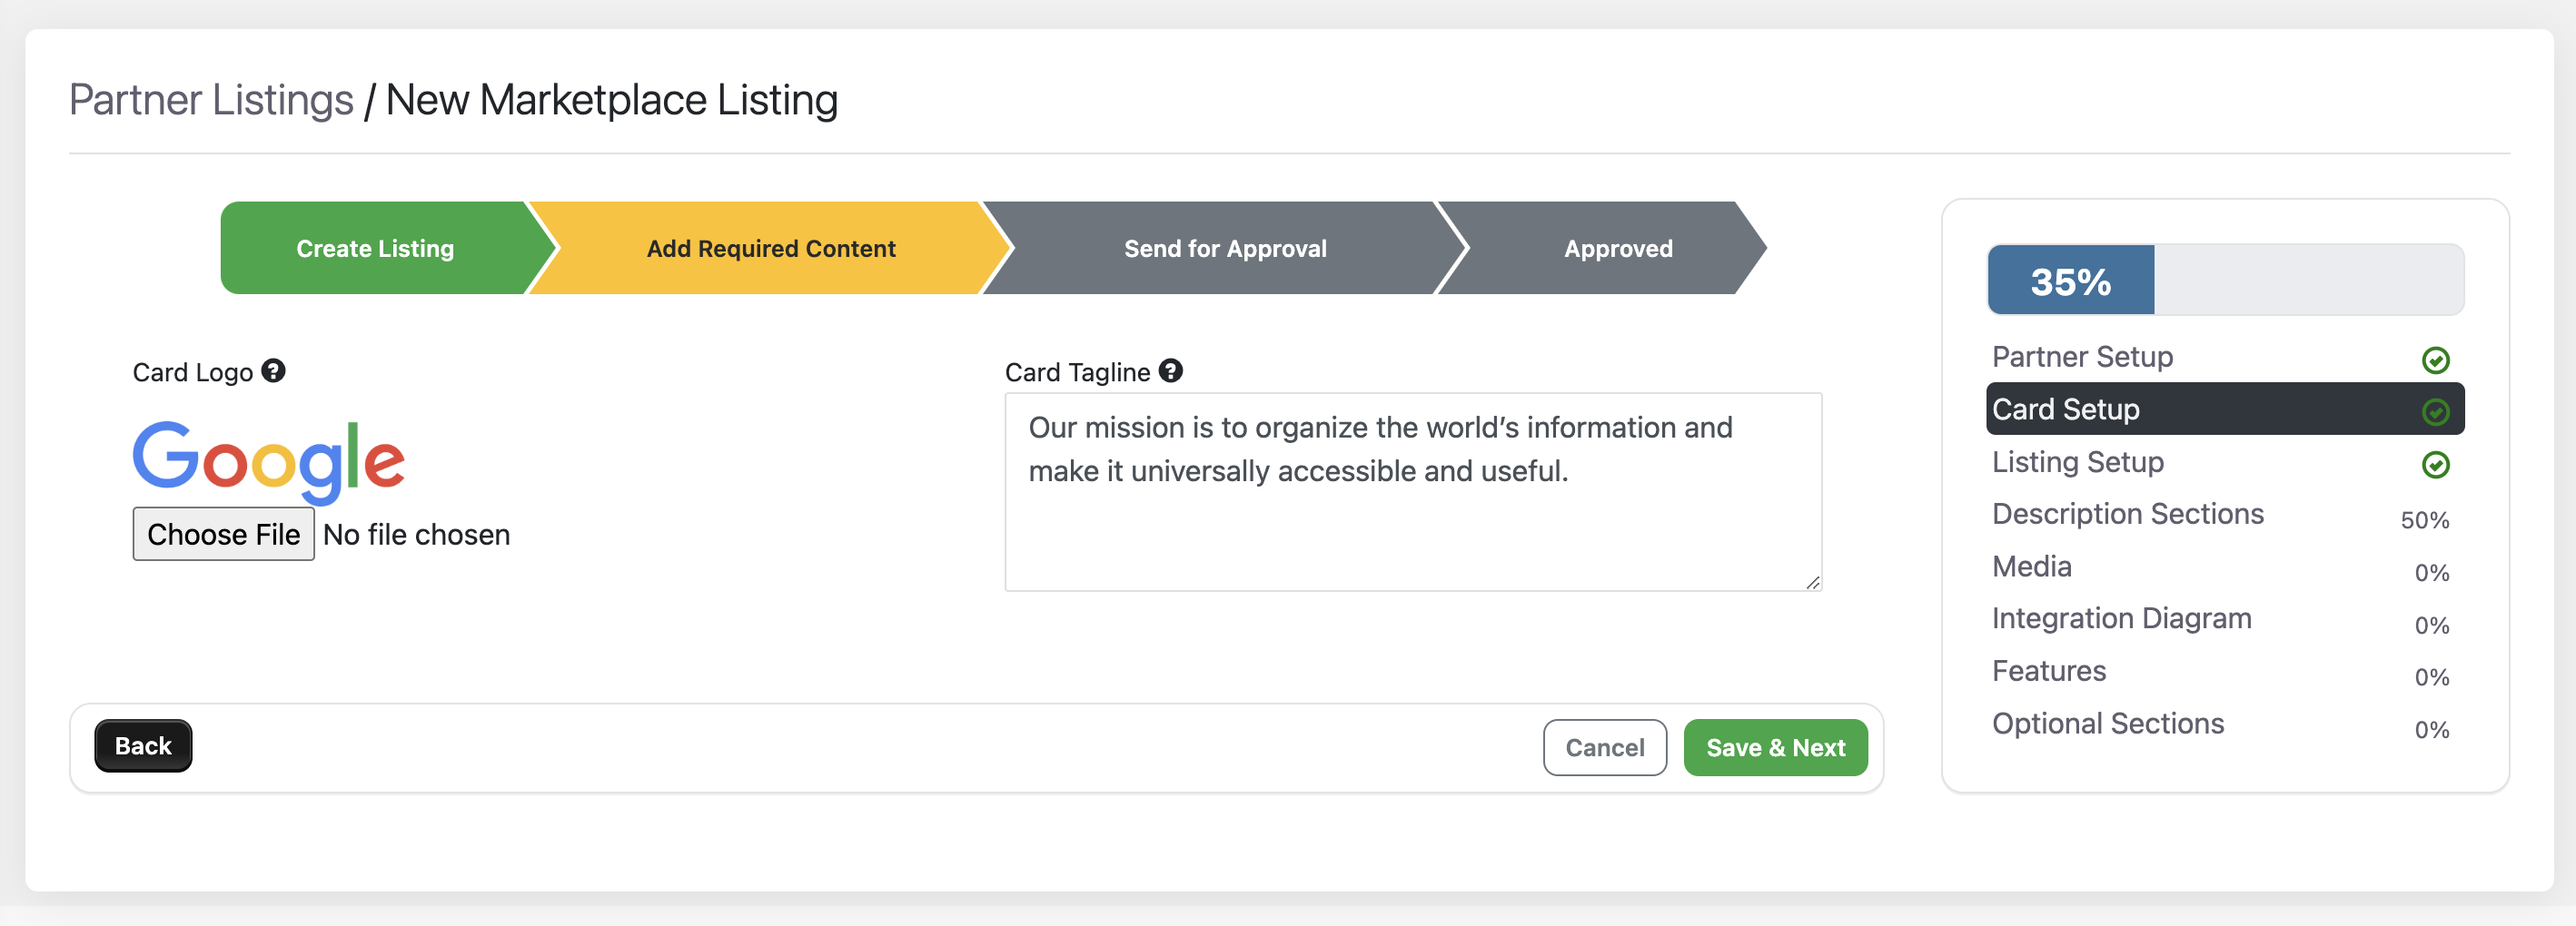
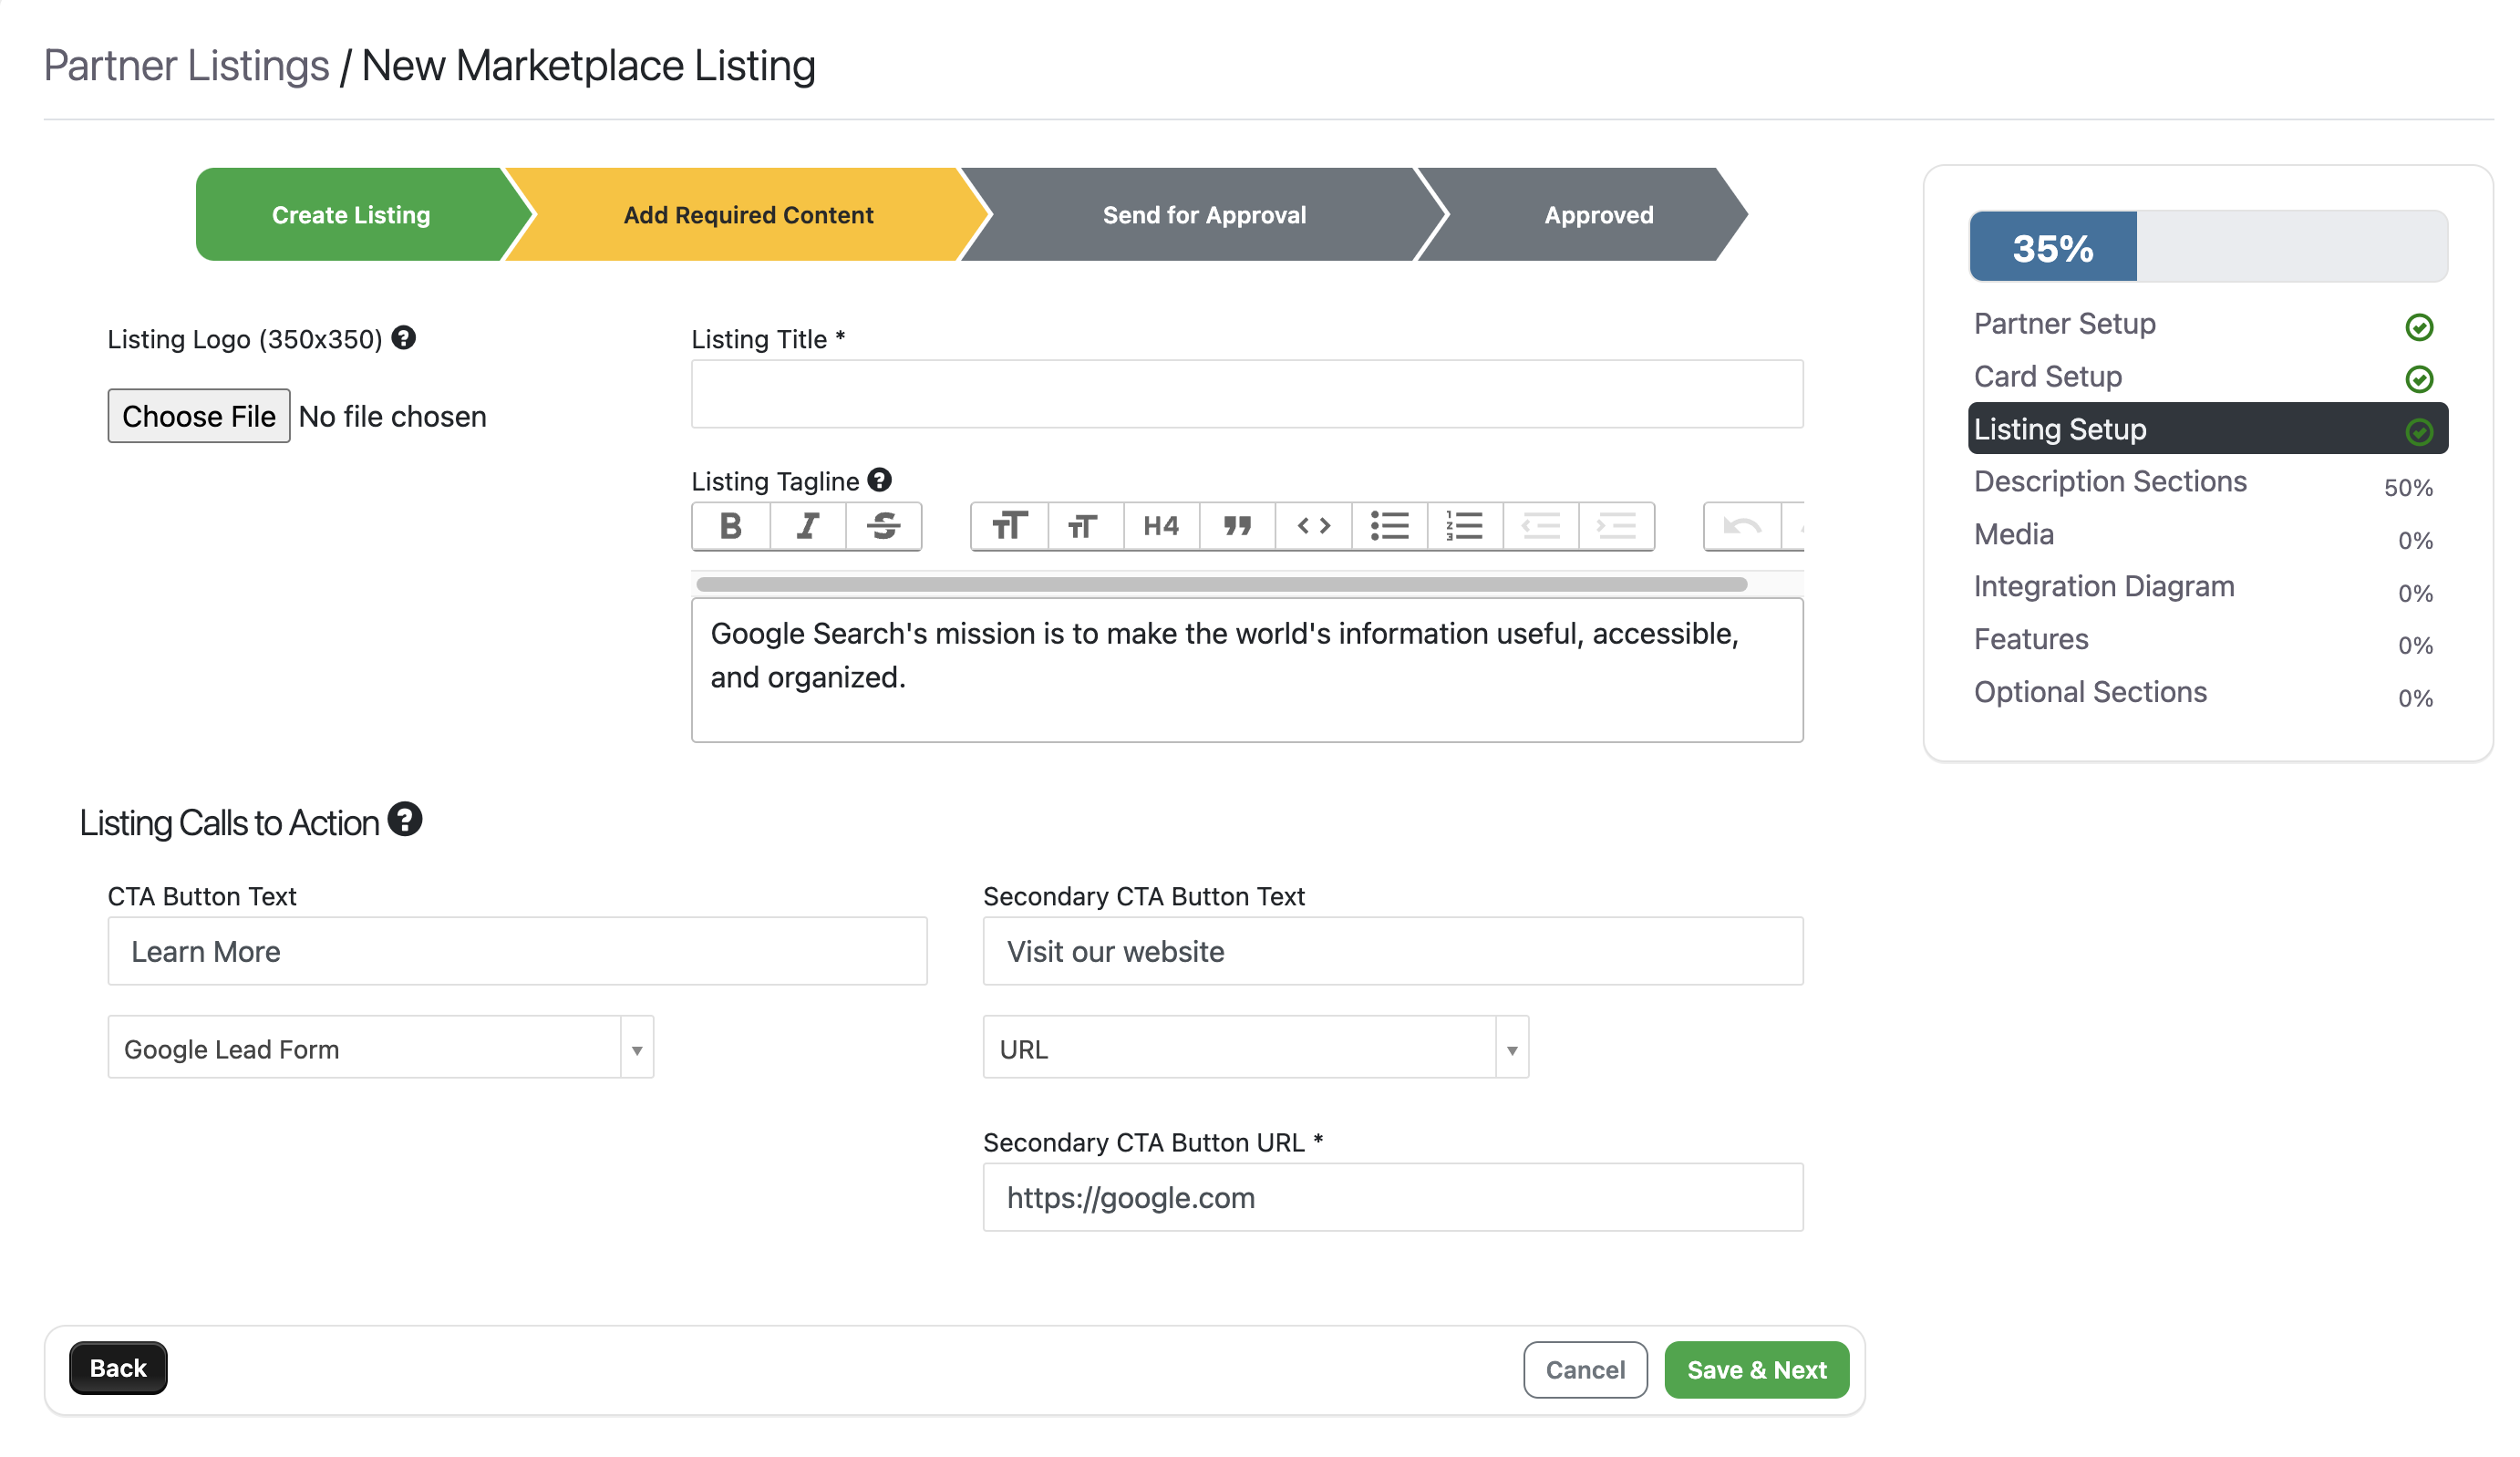
Listing Setup: You can add your Listing Logo, Listing Title, Listing Tagline, and set your Listing Calls to Action in this section.
If you need additional details on any of these fields, simply hover over the question mark tooltip. A description will pop up with more information.
To proceed to the next section, click "Save & Next." Click "Back" to edit the previous step, or select "Cancel" to exit the onboarding flow.
See Screenshot
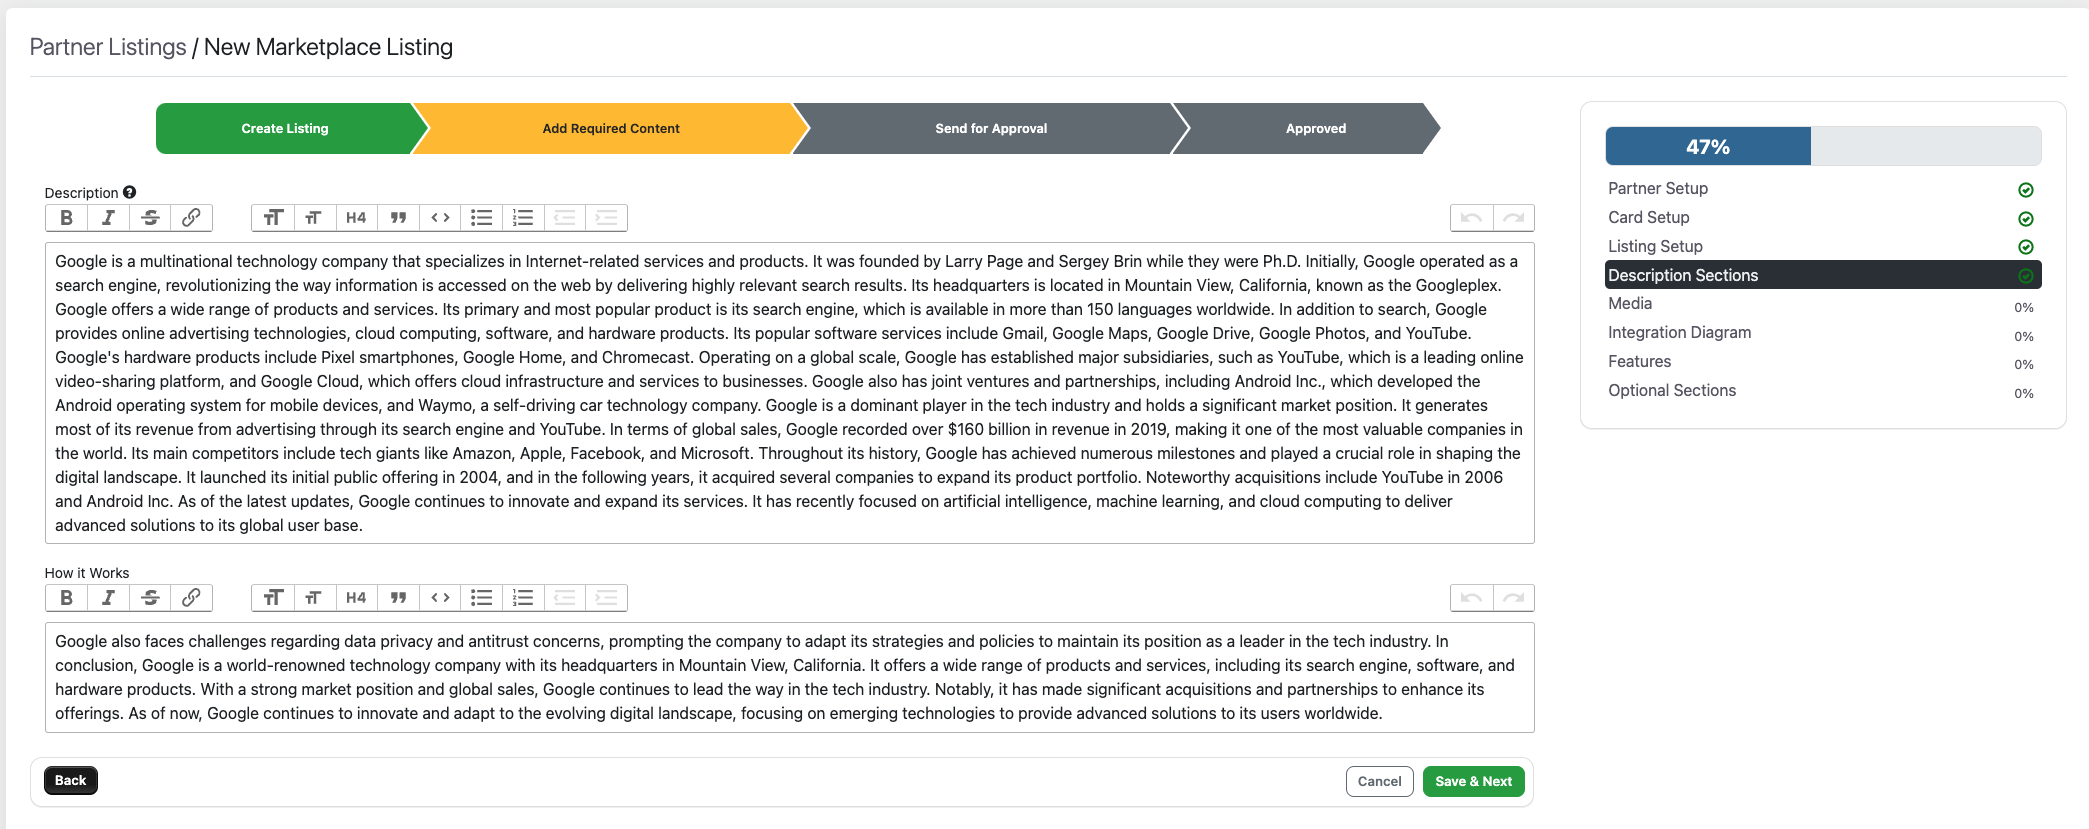
Description Section: In the description section, you can highlight your collaborative "better together" story with your partner company, detailing the value of the relationship and emphasizing any key points.
The description section will be pre-populated due to the brand fetch integration, but you have the option to override this information if necessary.
Additional description sections may be required for your listing if your partner has specified them.
To proceed to the next section, click "Save & Next." Click "Back" to edit the previous step, or select "Cancel" to exit the onboarding flow.
See Screenshot
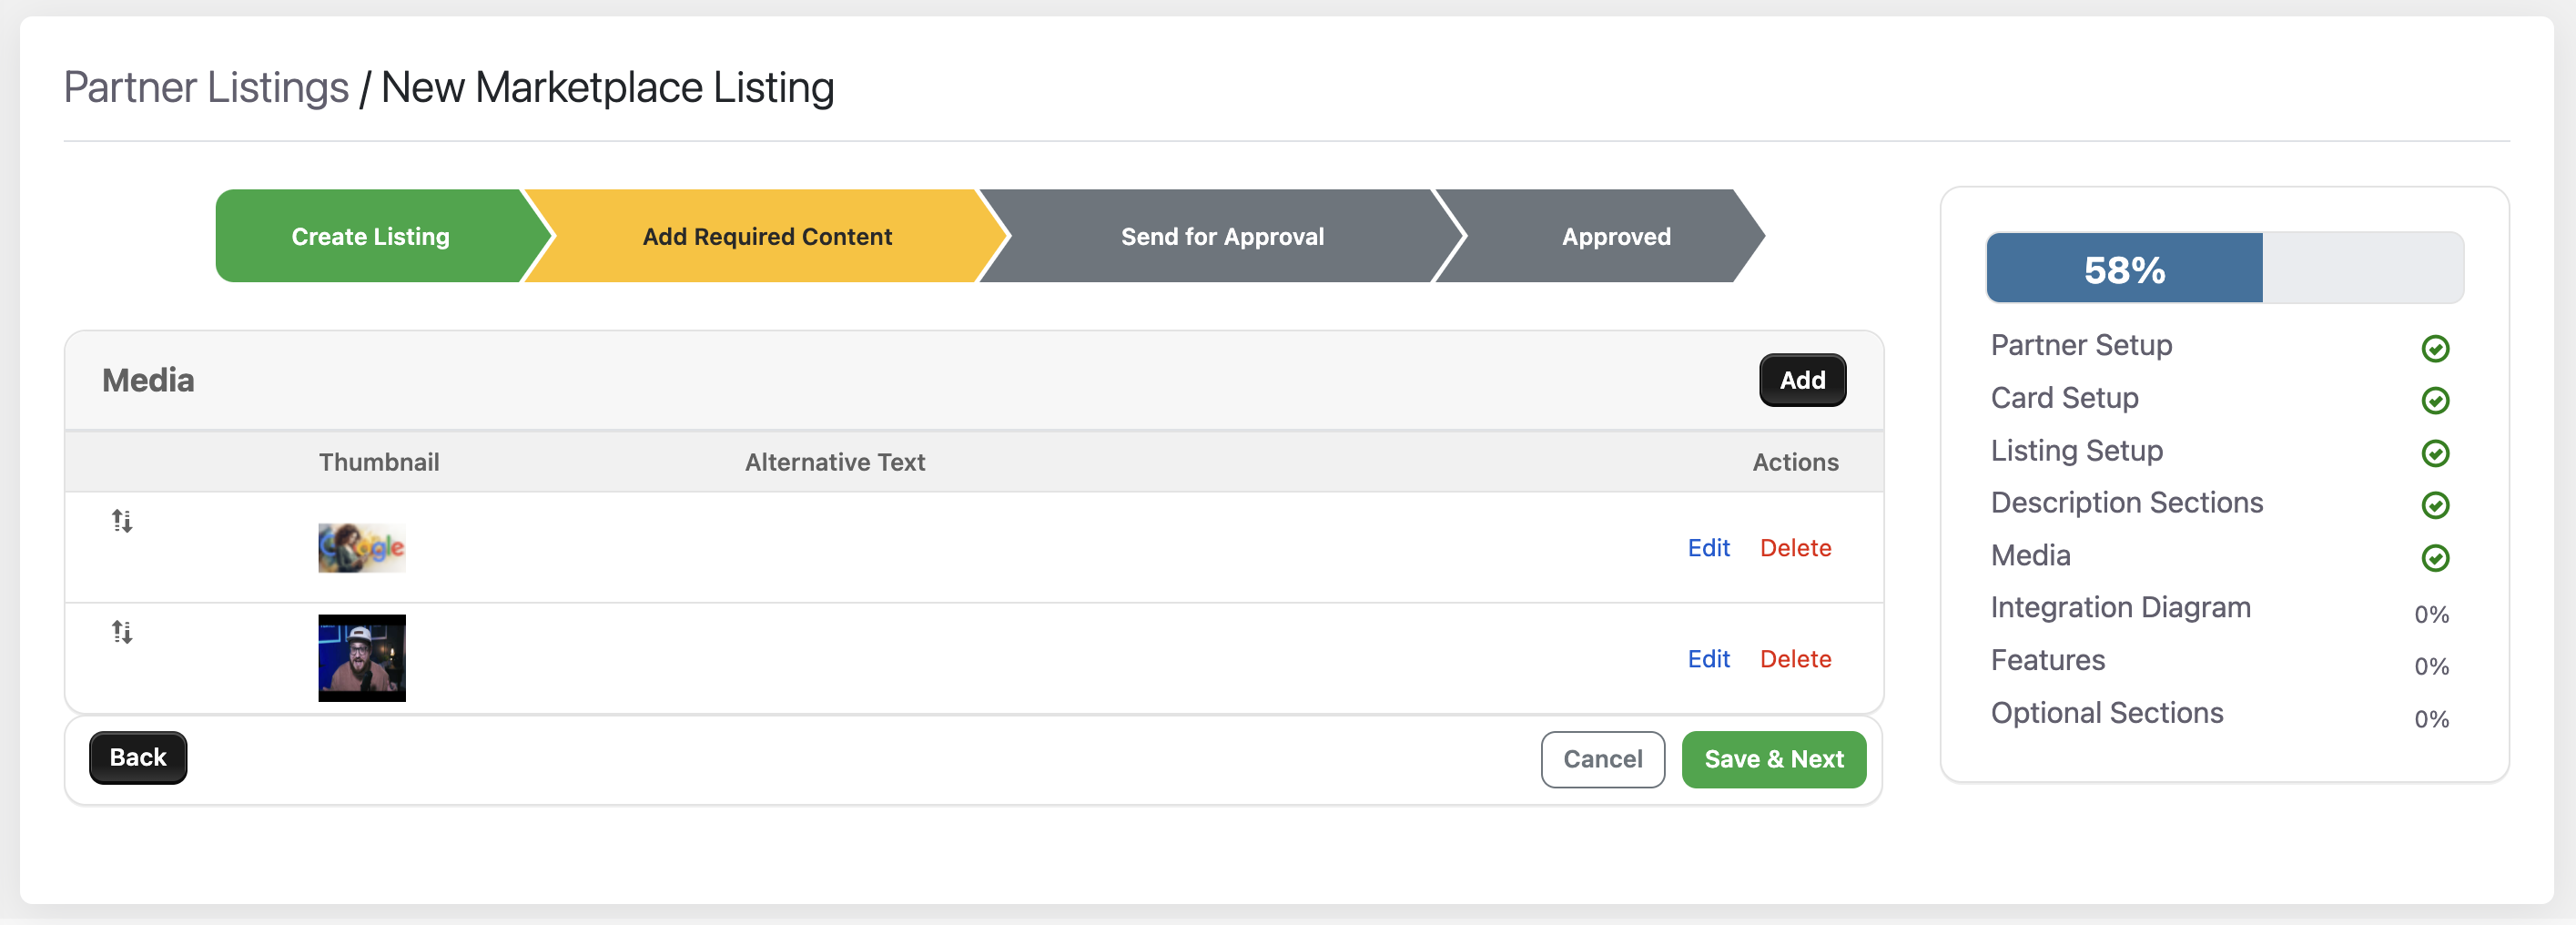
Media: In the media section, you can upload images in PNG and JPEG formats. Additionally, you have the option to add videos by inserting a URL from compatible platforms such as YouTube, Vidyard, Vimeo, Wistia, and Brightcove.
To proceed to the next section, click "Save & Next." Click "Back" to edit the previous step, or select "Cancel" to exit the onboarding flow.
See Screenshot
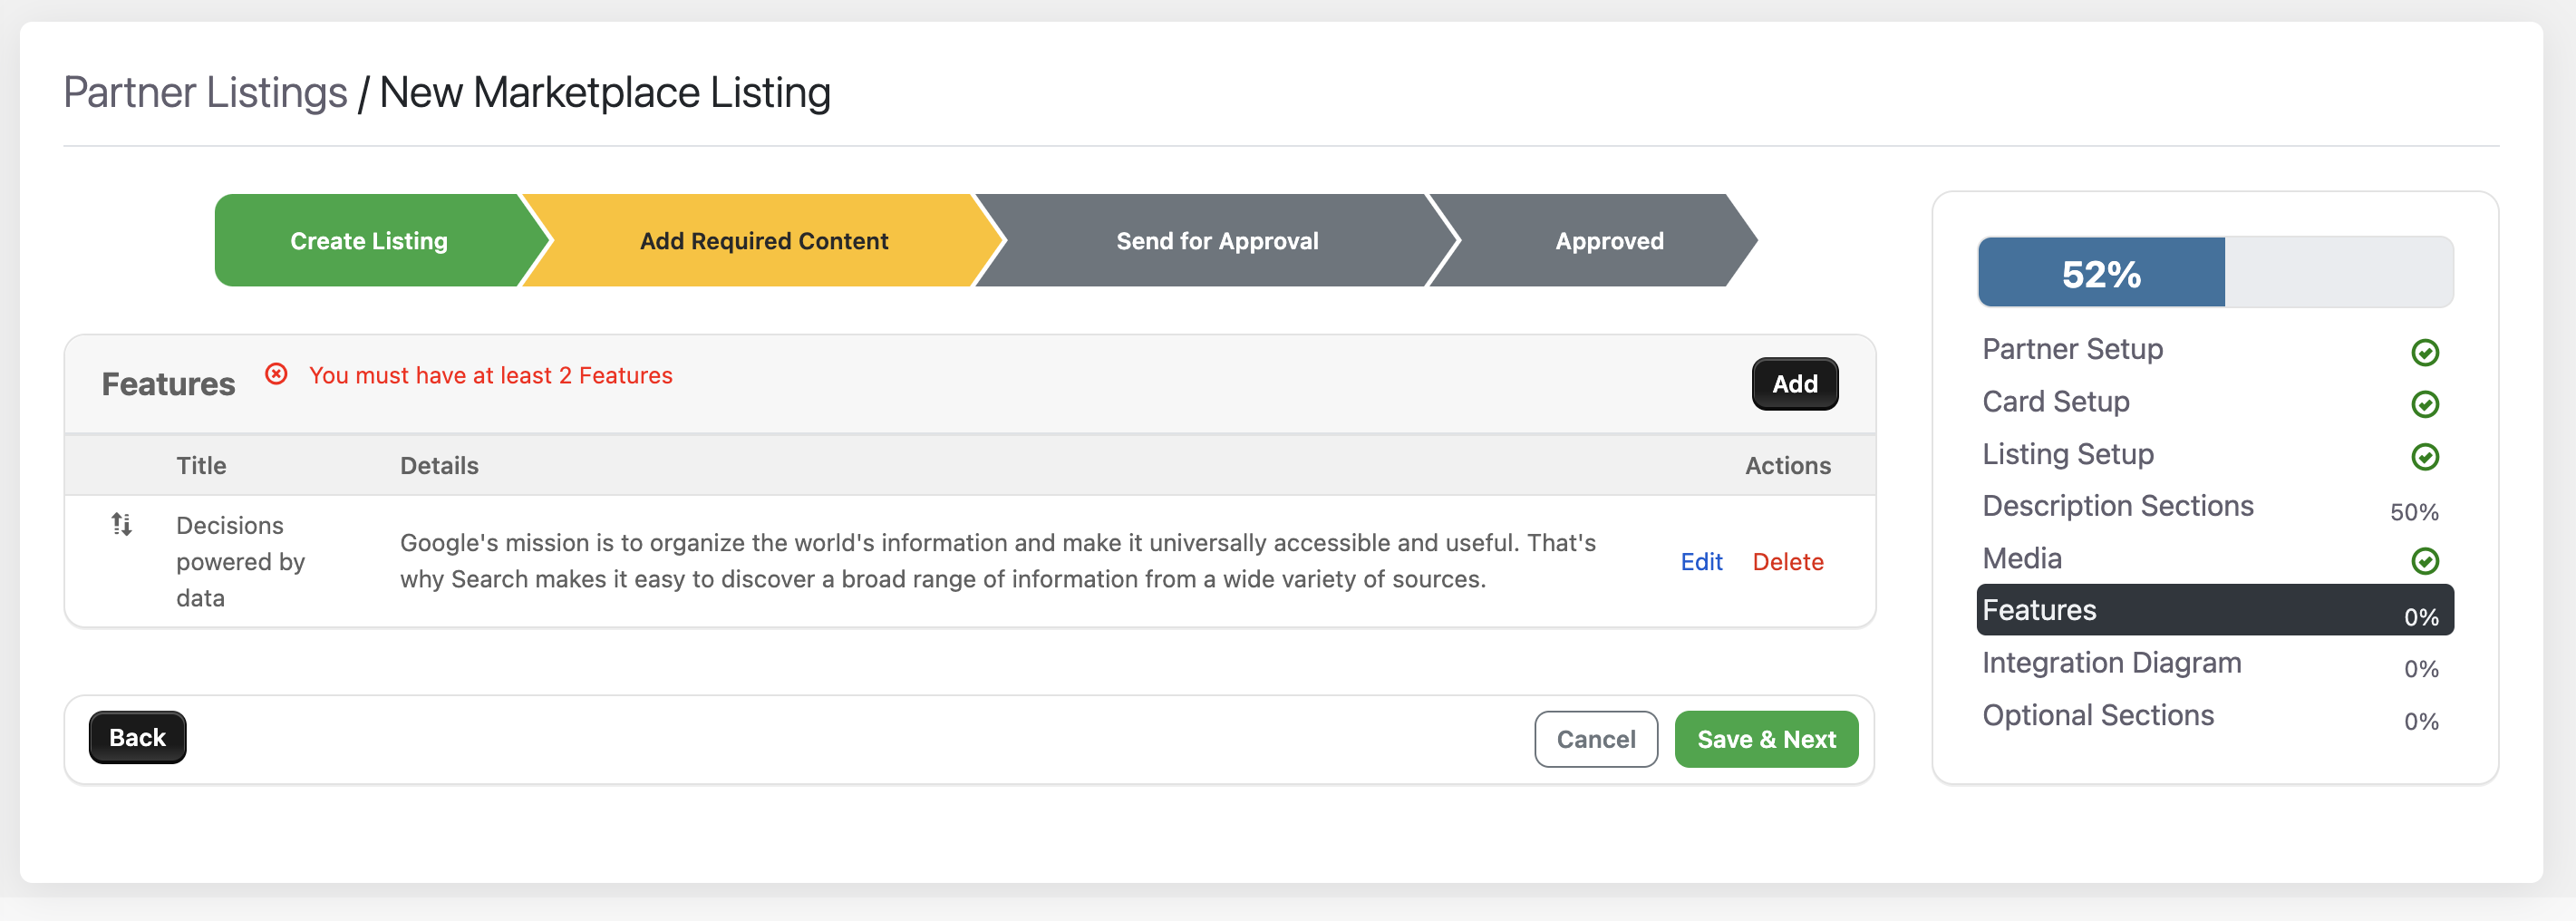
Features: In this section you can add your features. Adding features to a marketplace listing enhances visibility and helps potential buyers make informed decisions, leading to higher conversion rates.
This listing requires at least two features. After adding one, you will see a red notification indicating the need for another. You can add these features here or in the final view before submitting your listing for approval.
See Screenshot
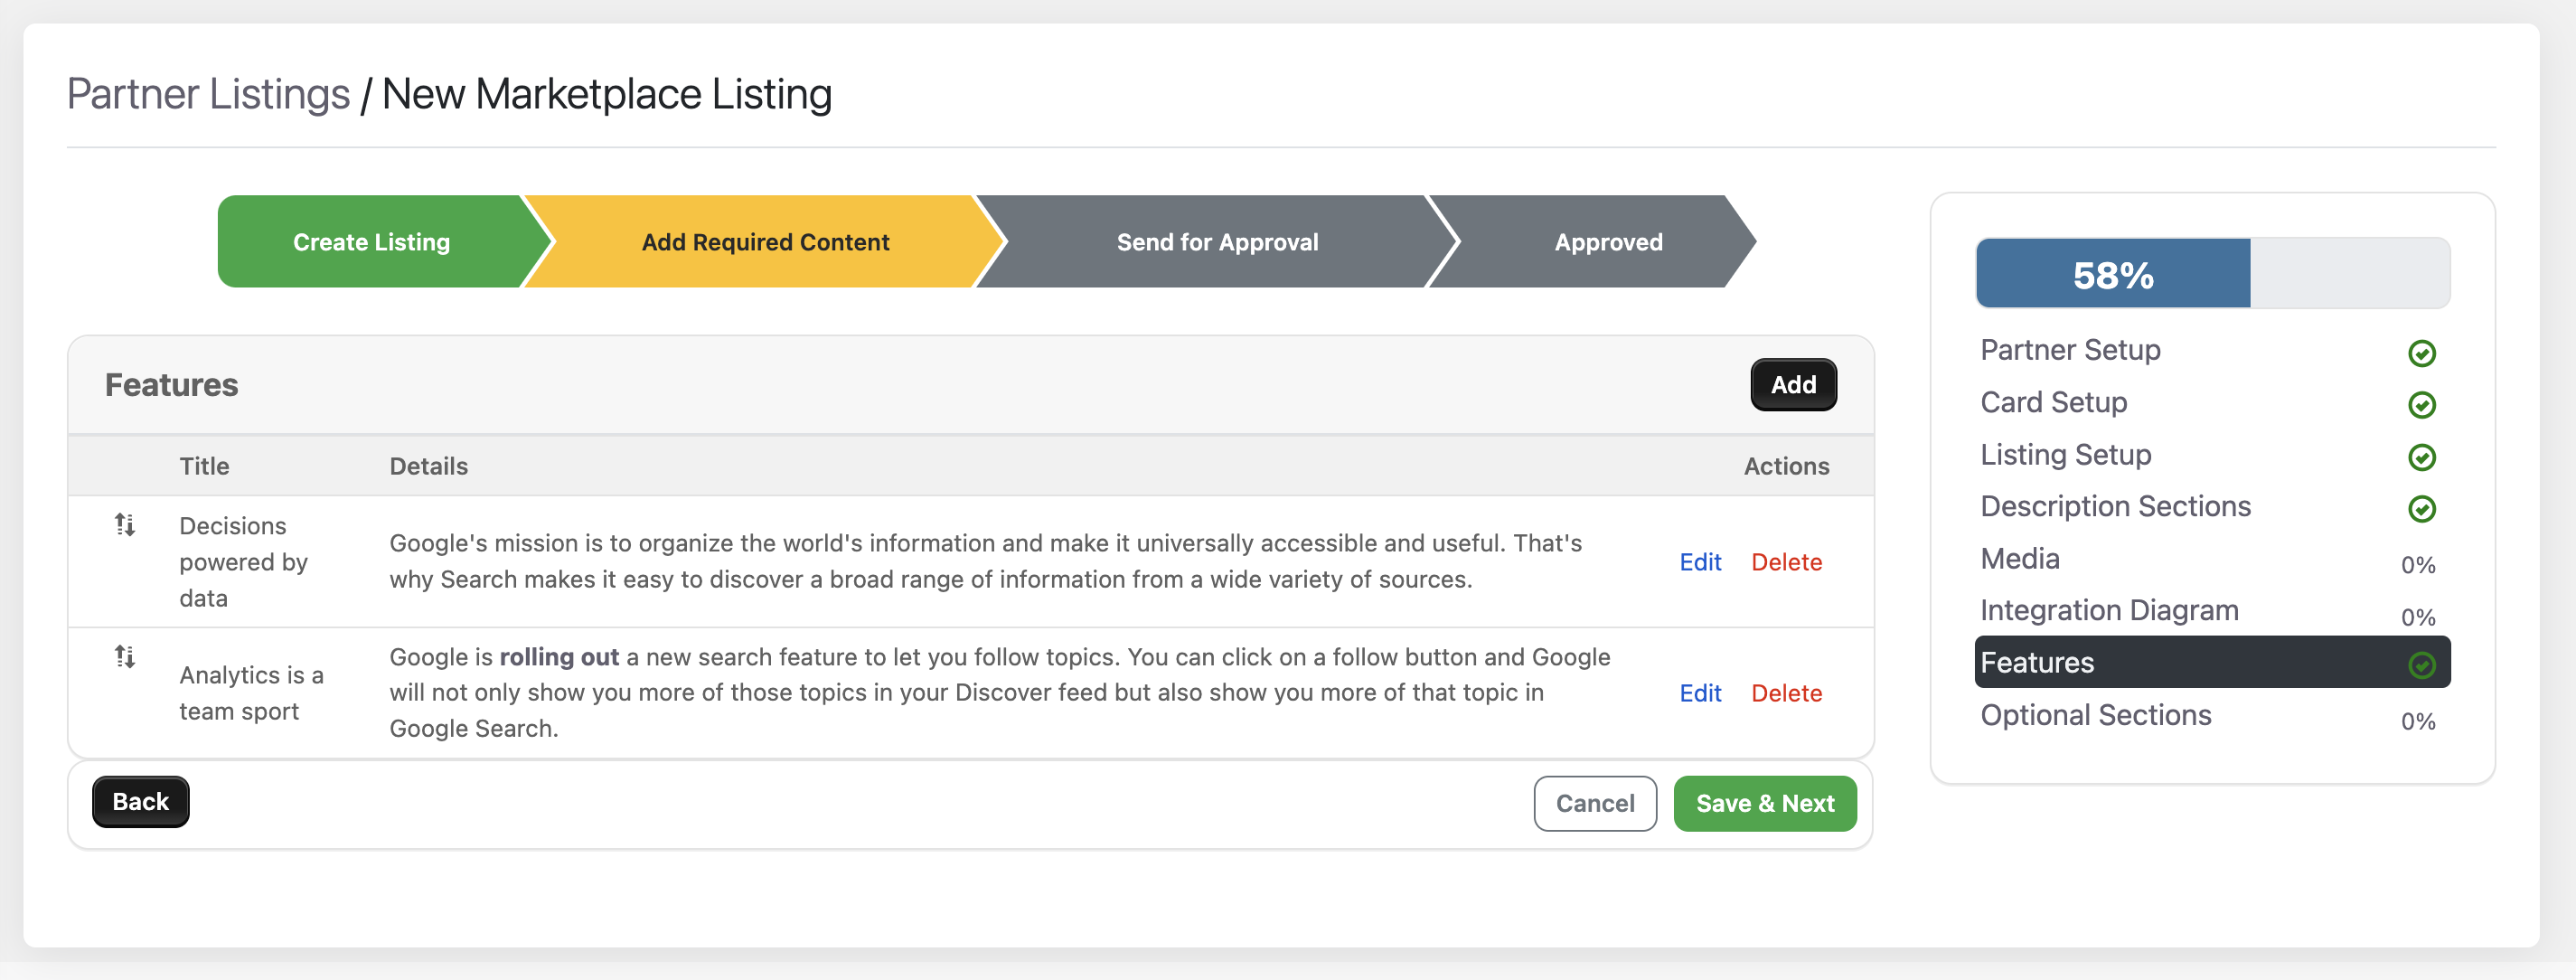
Now that a second Feature has been added the requirement has been met and the notification is gone.
See Screenshot
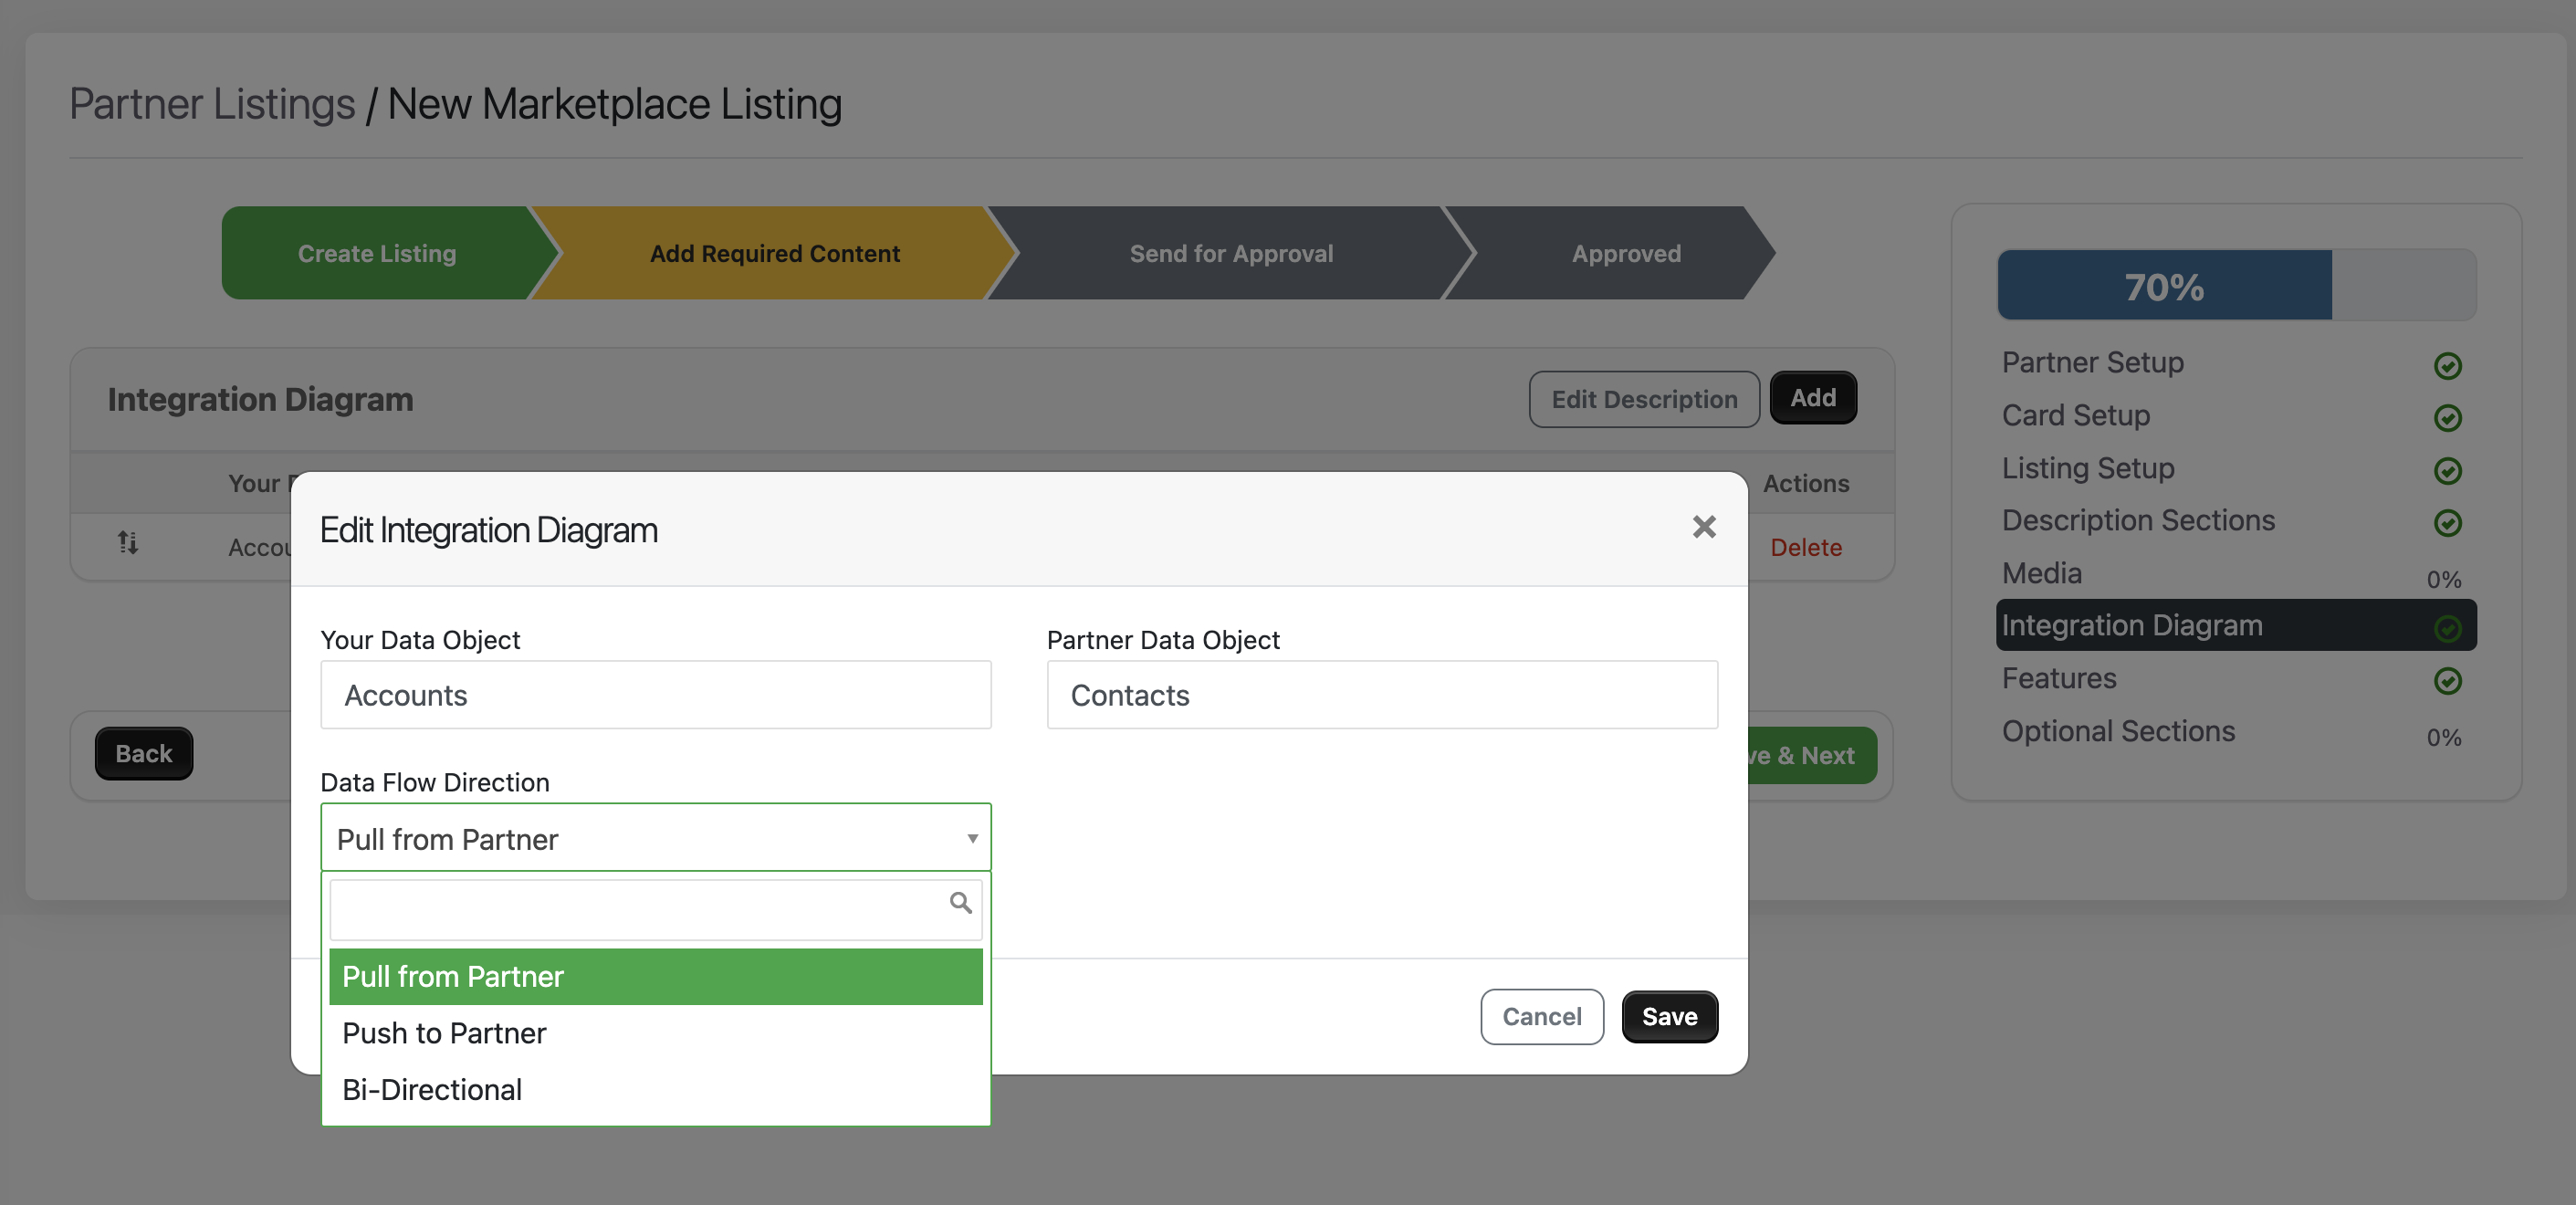
Integration Diagram: This is how data flows based on your integration. Include all necessary information about the integration, such as data flow and objects. You can add multiple flows, resulting in an informative diagram in your listing.
After you've added your Integration Diagram content click "Save."
See Screenshot
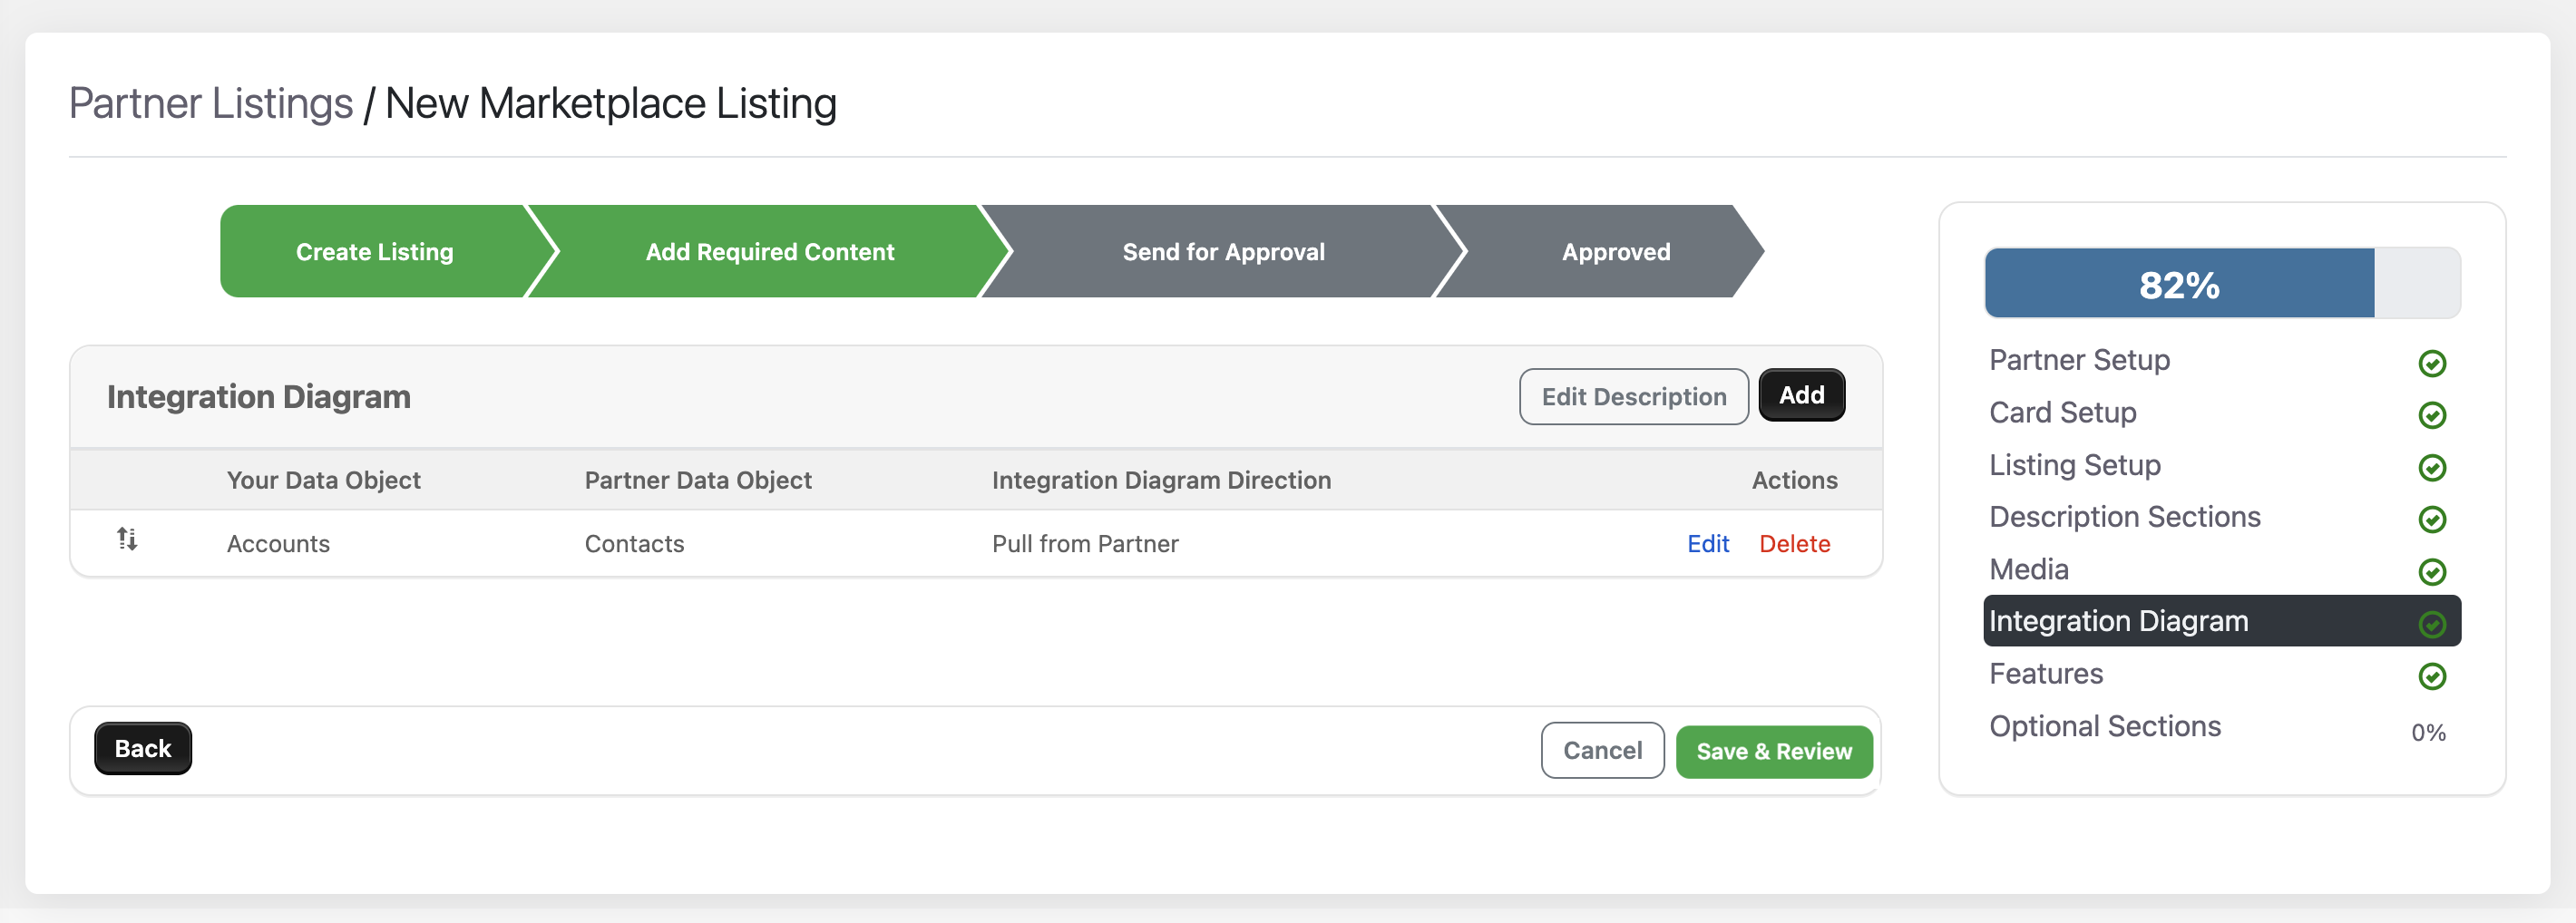
All required content has been met, and the status bar at the top has turned green. To proceed to the next section, click "Save & Review."
See Screenshot
Optional Sections
Depending on the sections your partner has added to your listing, there might be optional sections for you to complete on as well. Such as
Lead Form: Fill out the information on where any leads submitted to the marketplace should be delivered to.
Resources: Link out to/upload articles, case studies, integration documentation and more using the resources section. Just add the title, link text, the link itself, or attach a file, and any need to know details. Click Create.
Properties: Standardized links that show on the left side of the profile listing, including: Support, Website, Documentation, & Terms of Service. Click Save.
FAQ: Add your Frequently asked questions and answers here. Click +New FAQ in the green box at the top of the page, and add the Q&A’s that best fit your listing. For each one, click create.
Layout Overview
Once you click Save & Review, you'll be directed to the Layout Overview page, where you can review all the content you've added and make any necessary edits before submitting it for approval. If you're managing or updating an existing listing, you may also land directly on this page.
See Screenshot
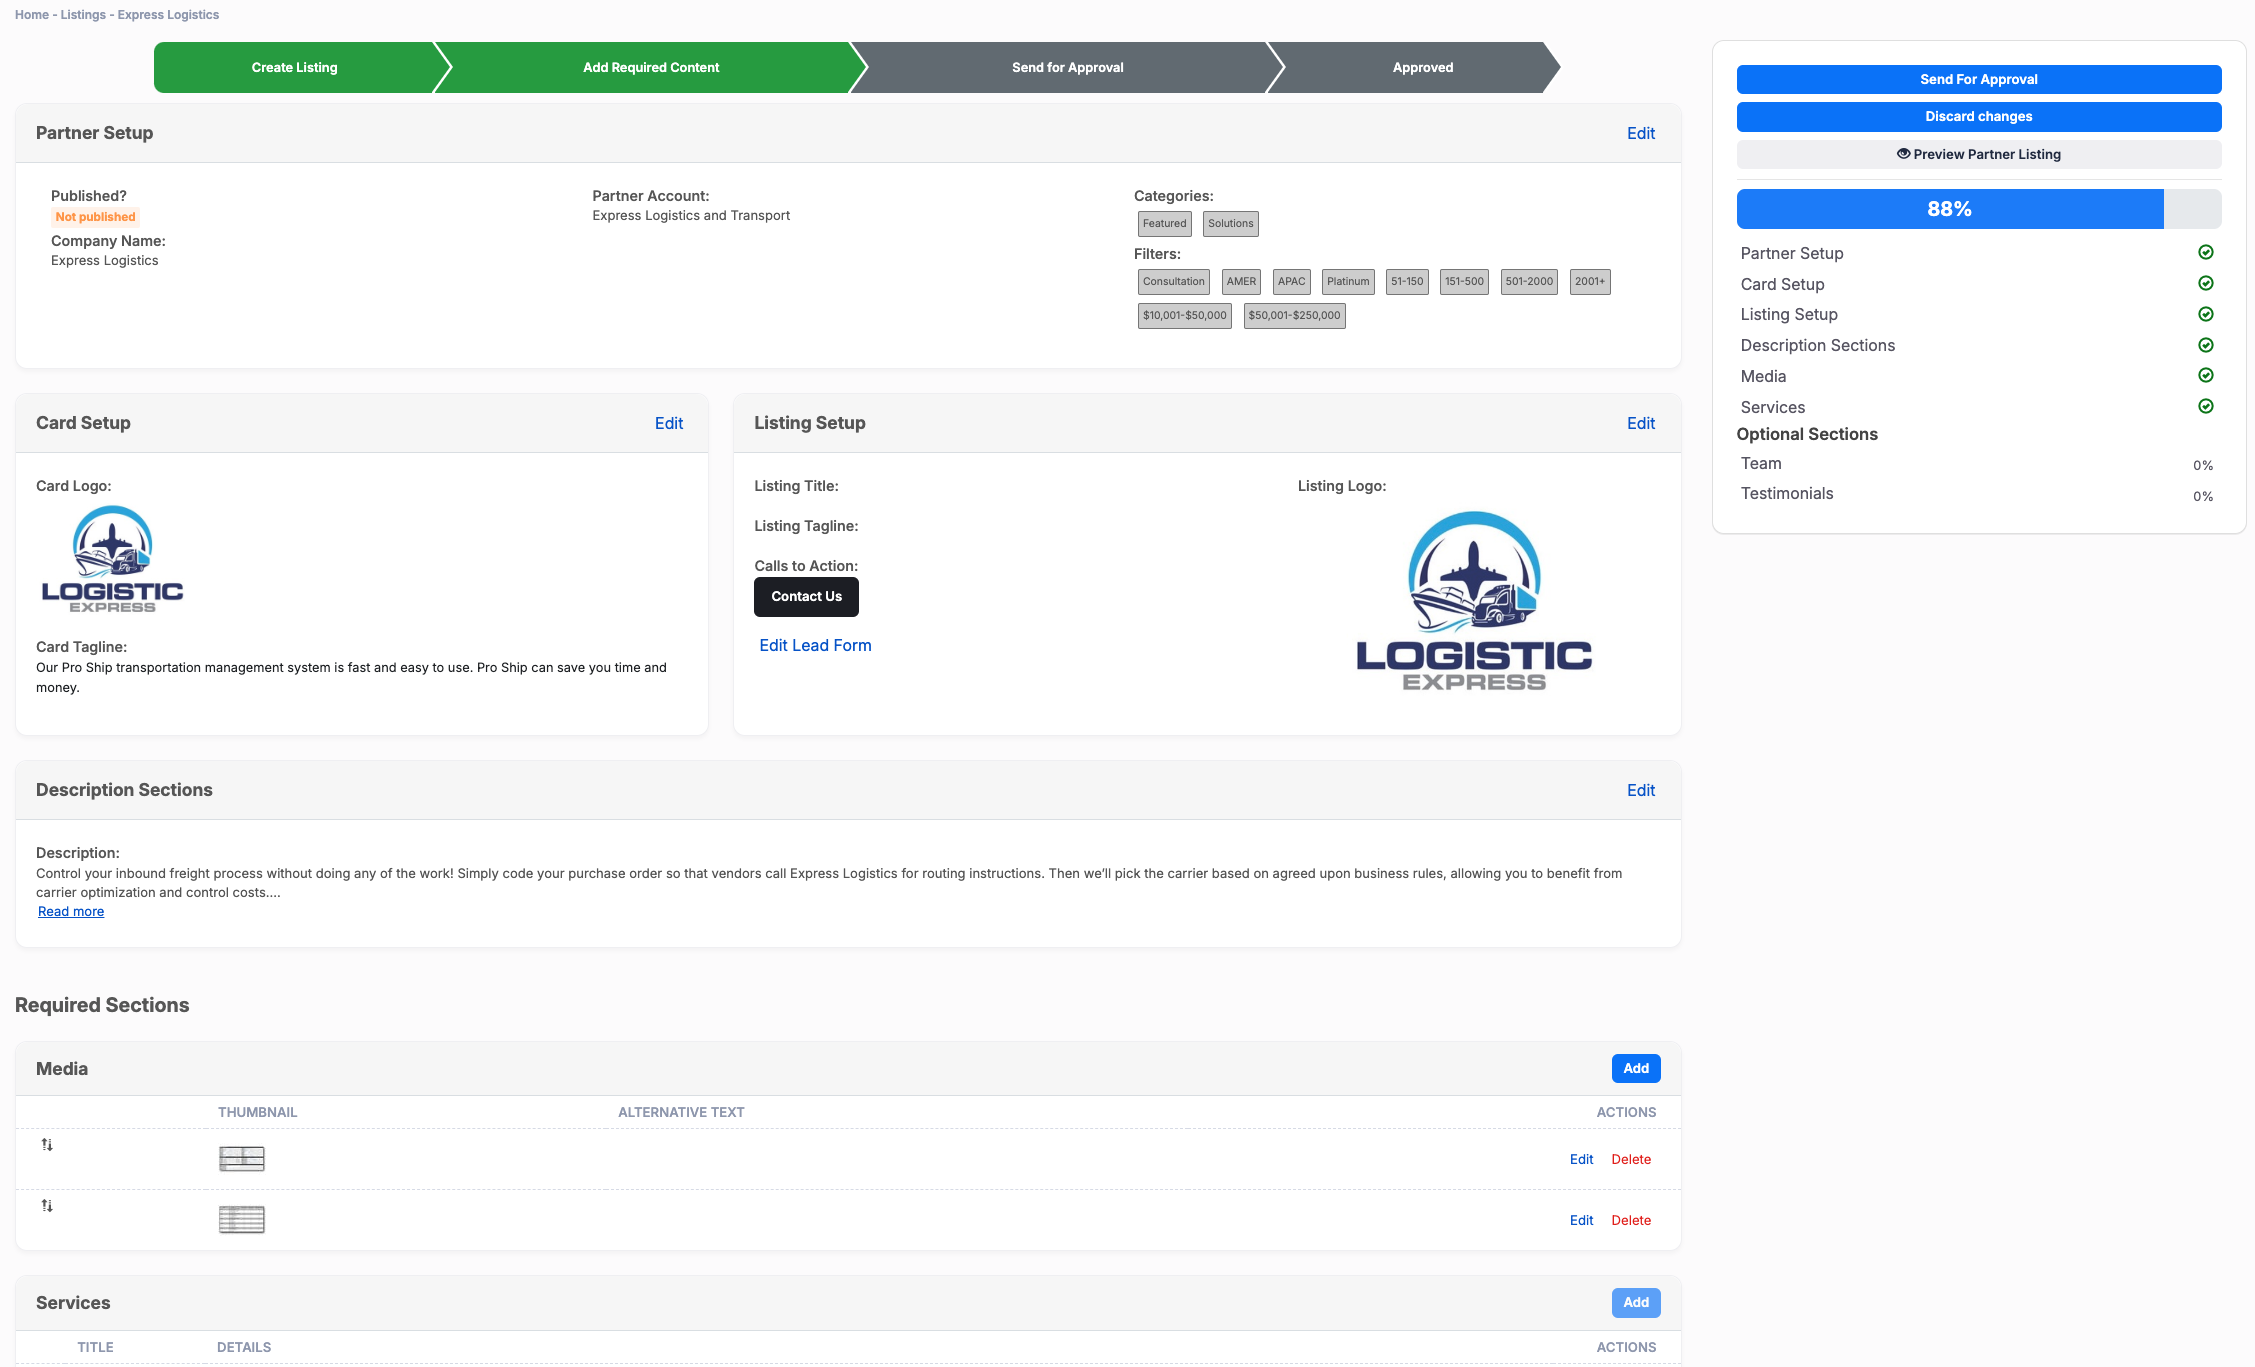
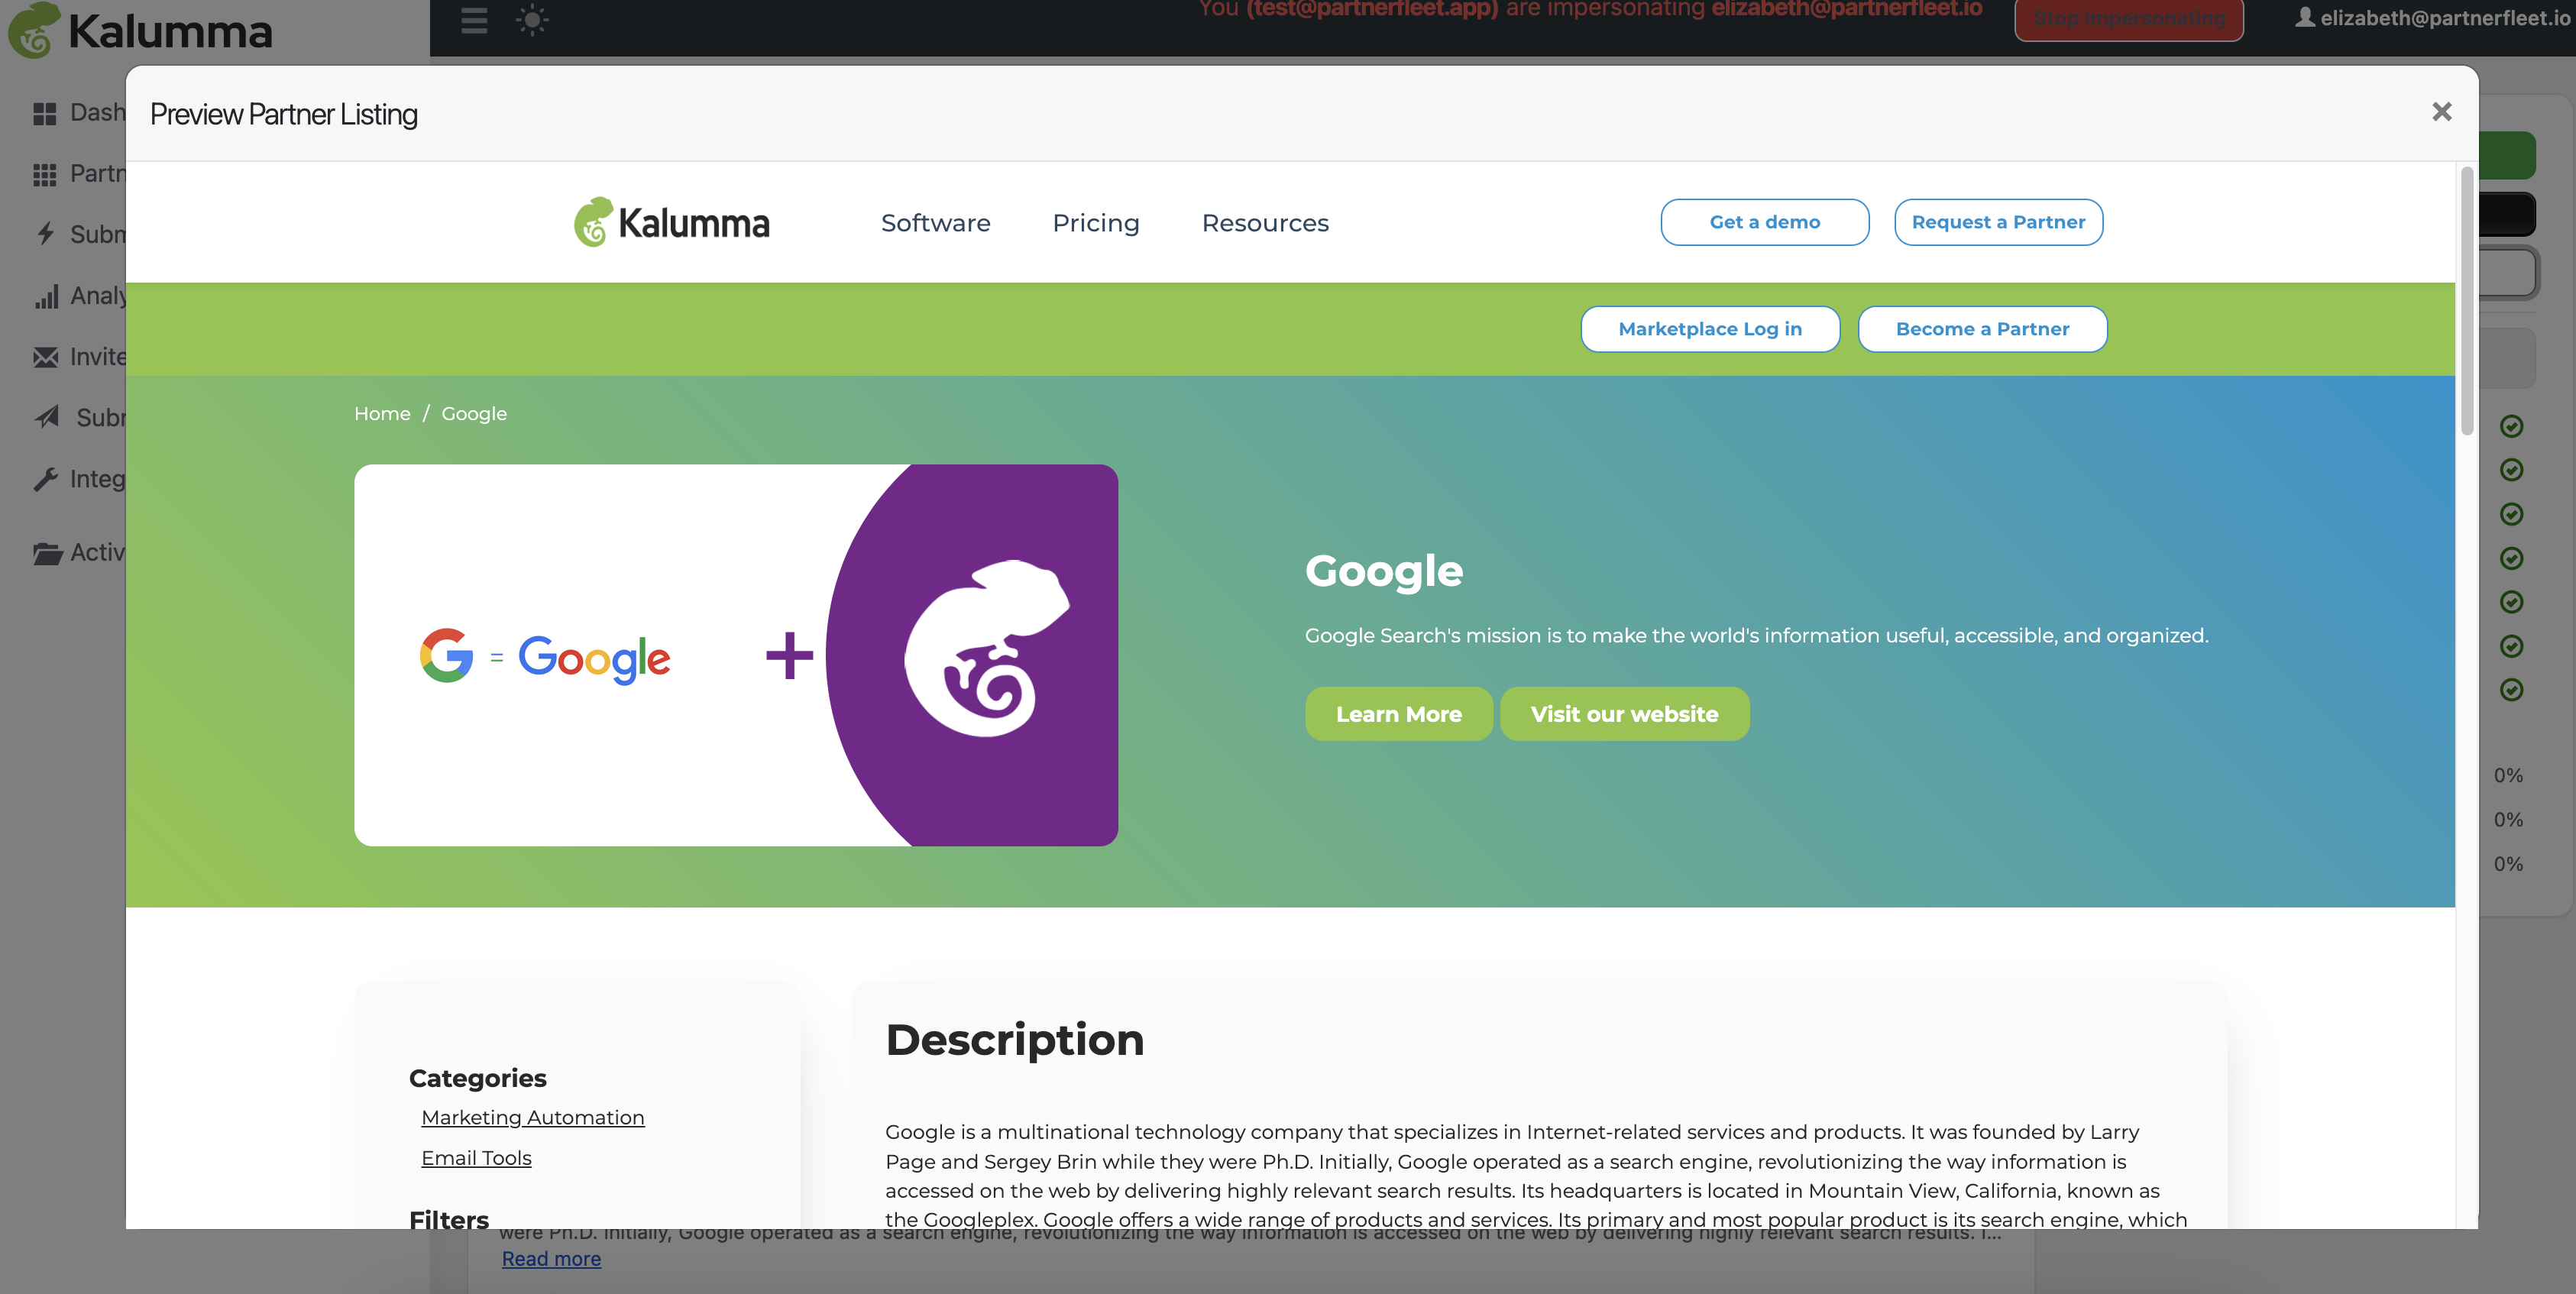
To preview how your listing will appear to users, simply click the Preview Partner Listing button in the right-side navigation. This will open a modal that shows the frontend view of your listing, giving you a complete sense of how it will look to potential visitors.
See Screenshot
Send for Approval
When you're ready to submit for approval, click the blue "Send for Approval" button.
See Screenshot
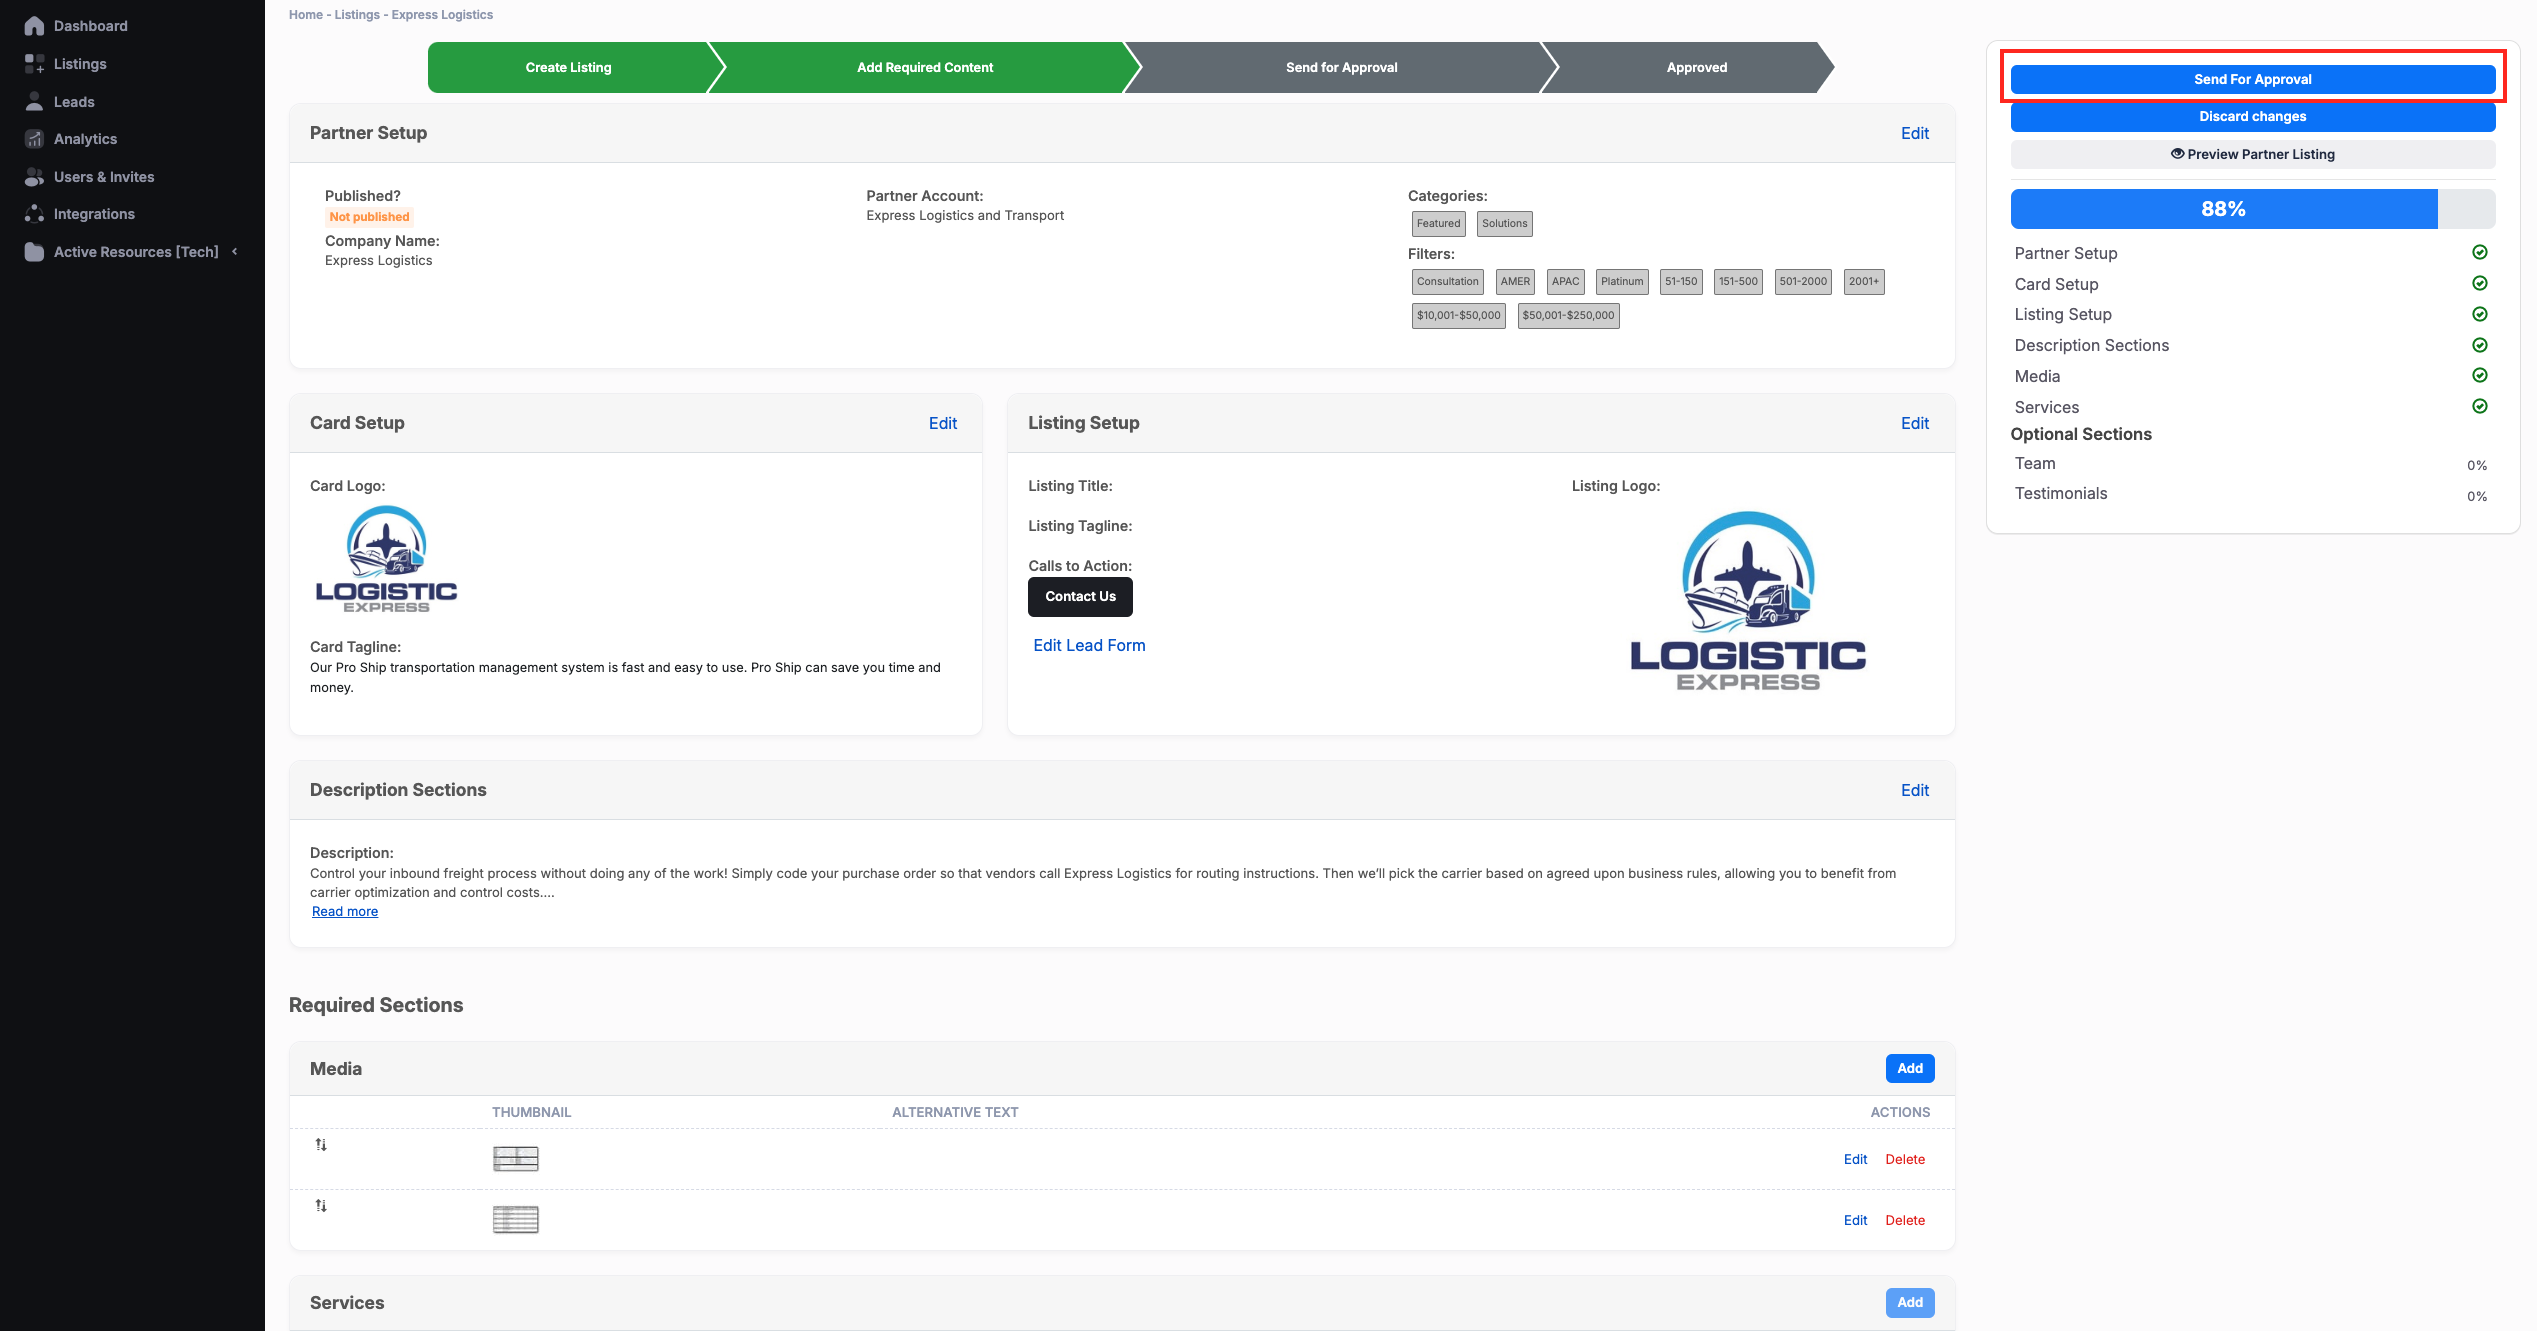
Your listing will be sent to your partner admin for review. While it’s under review, you’ll see a Pending Listing Approval notification next to the Un-submit button, and you can still preview your listing to ensure it appears as intended.
See Screenshot

In some cases, your partner might return it to you if they require updates to your listing. If all requirements are met, they will approve and publish your listing on the marketplace.
Updated over 1 year ago