

Creating and Managing Listings
Everything related to your listings is managed here. In this section, you can create new marketplace listings, customize how they appear on the homepage, and organize them by category. You can also search for specific listings by name and filter them by template for easier navigation.
Why a robust Marketplace listing matters
Customizing a marketplace listing is essential for enhancing visibility, targeting communication, and ultimately leading to higher engagement and conversion rates. By tailoring your listing to reflect your value propositions, you stand out in a competitive market, attract more relevant customers and partners, and build stronger relationships.
Listings are in Admin -> Listing
This is where all of the content for each listing will be edited and updated. A listing is built off a template and will reflect the sections and requirements of the template selected.
When you create a new listing, add Name, Website, and select the Template (this will only be an option if there are multiple templates available in the Marketplace).
See Screenshot
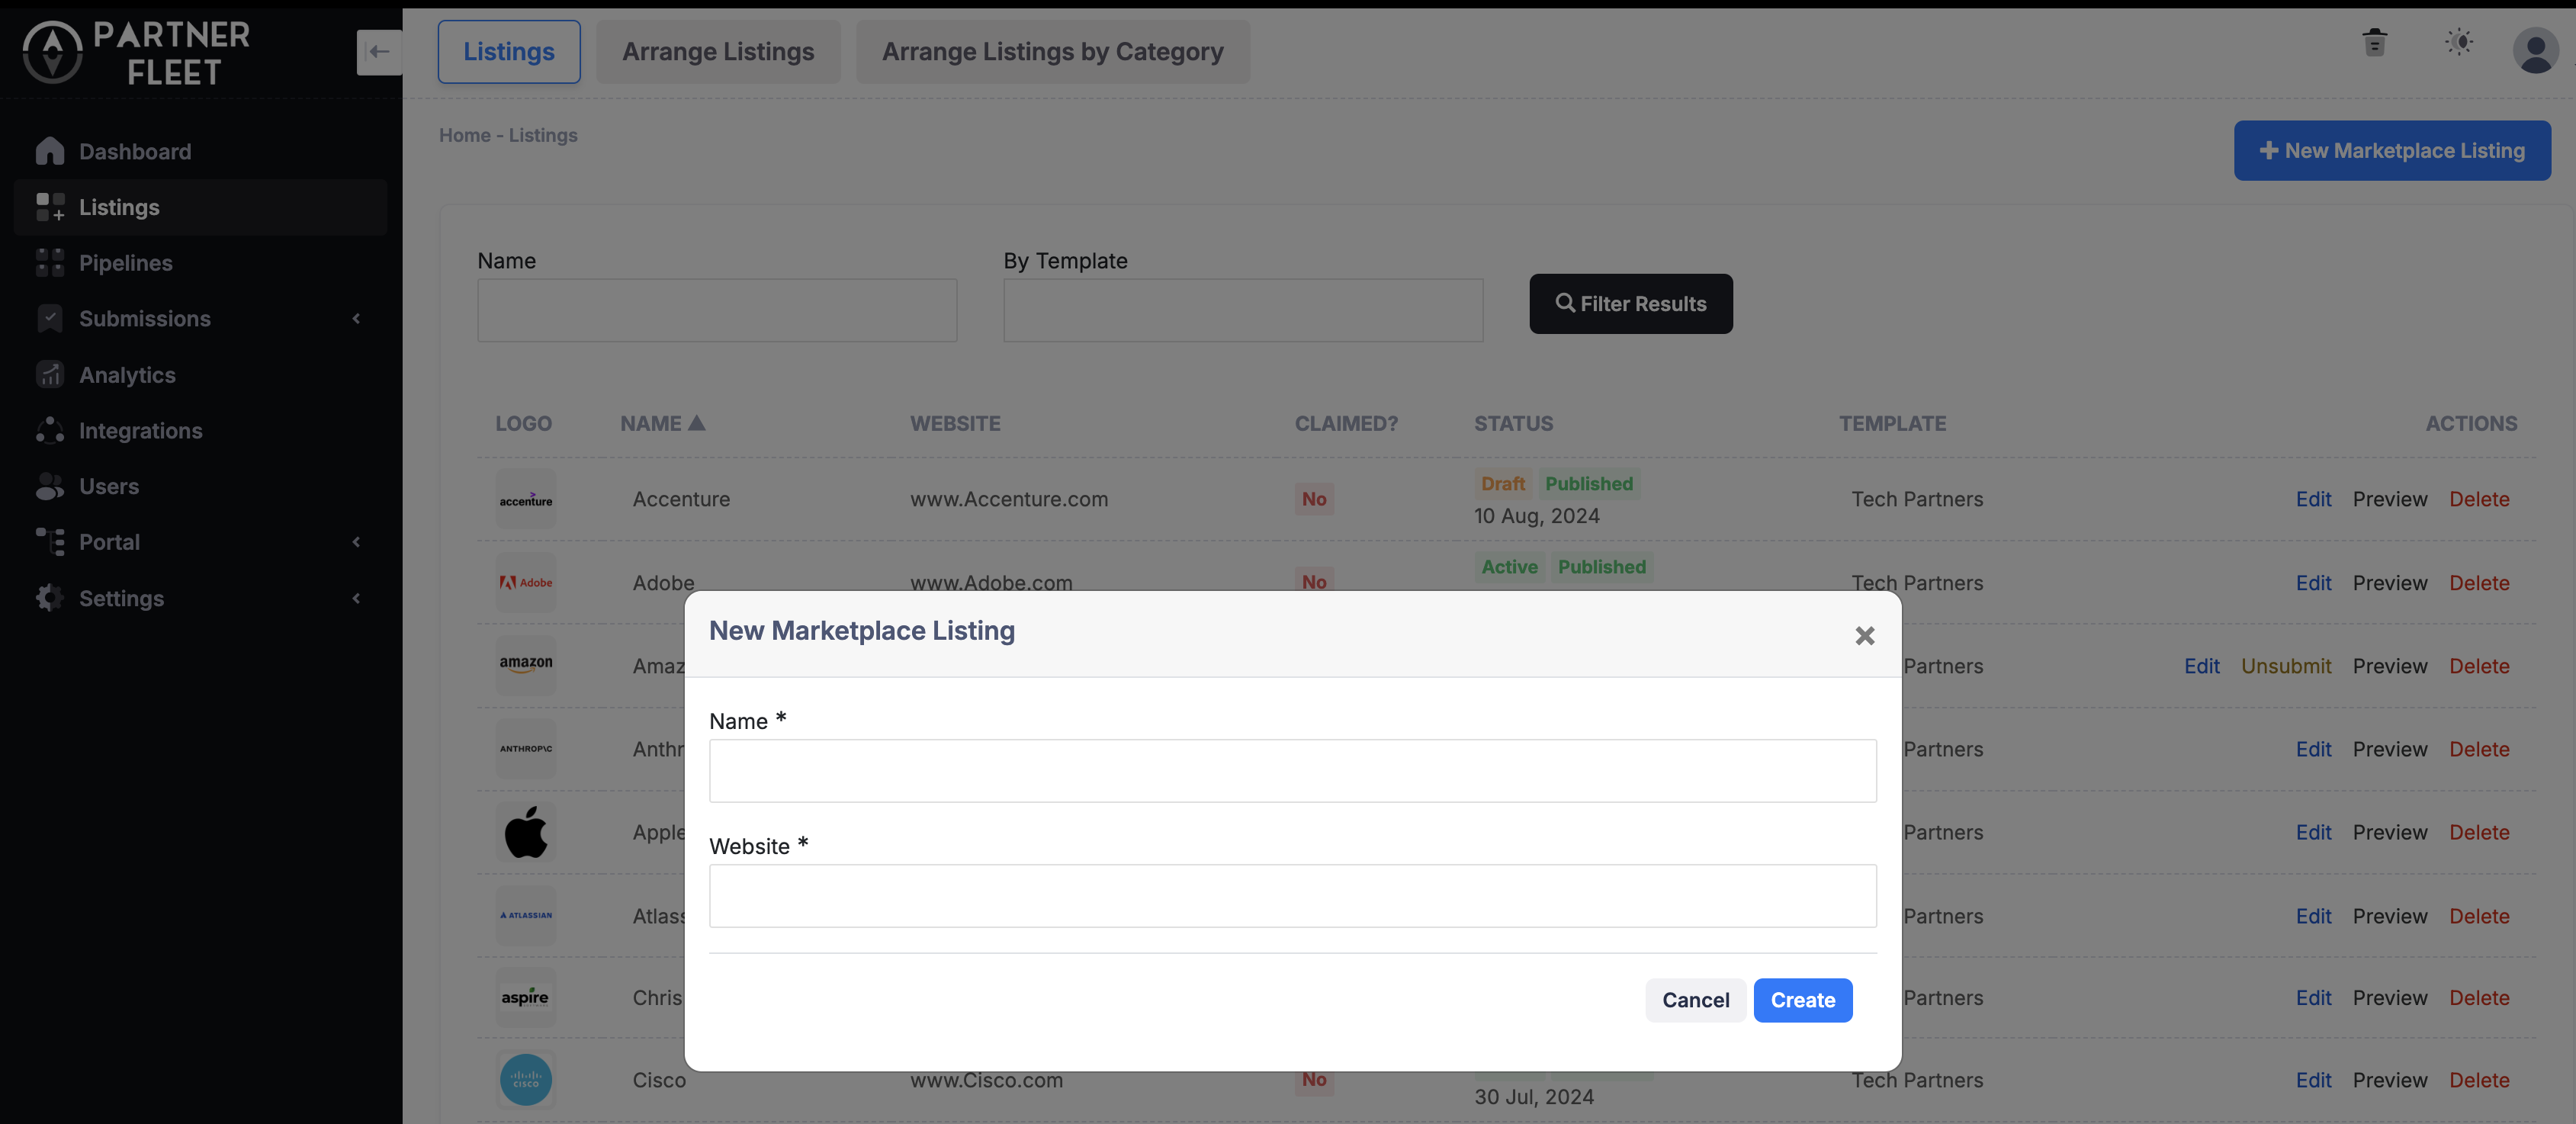
Once you click Create, you will be able to edit all the other details.
See Screenshot
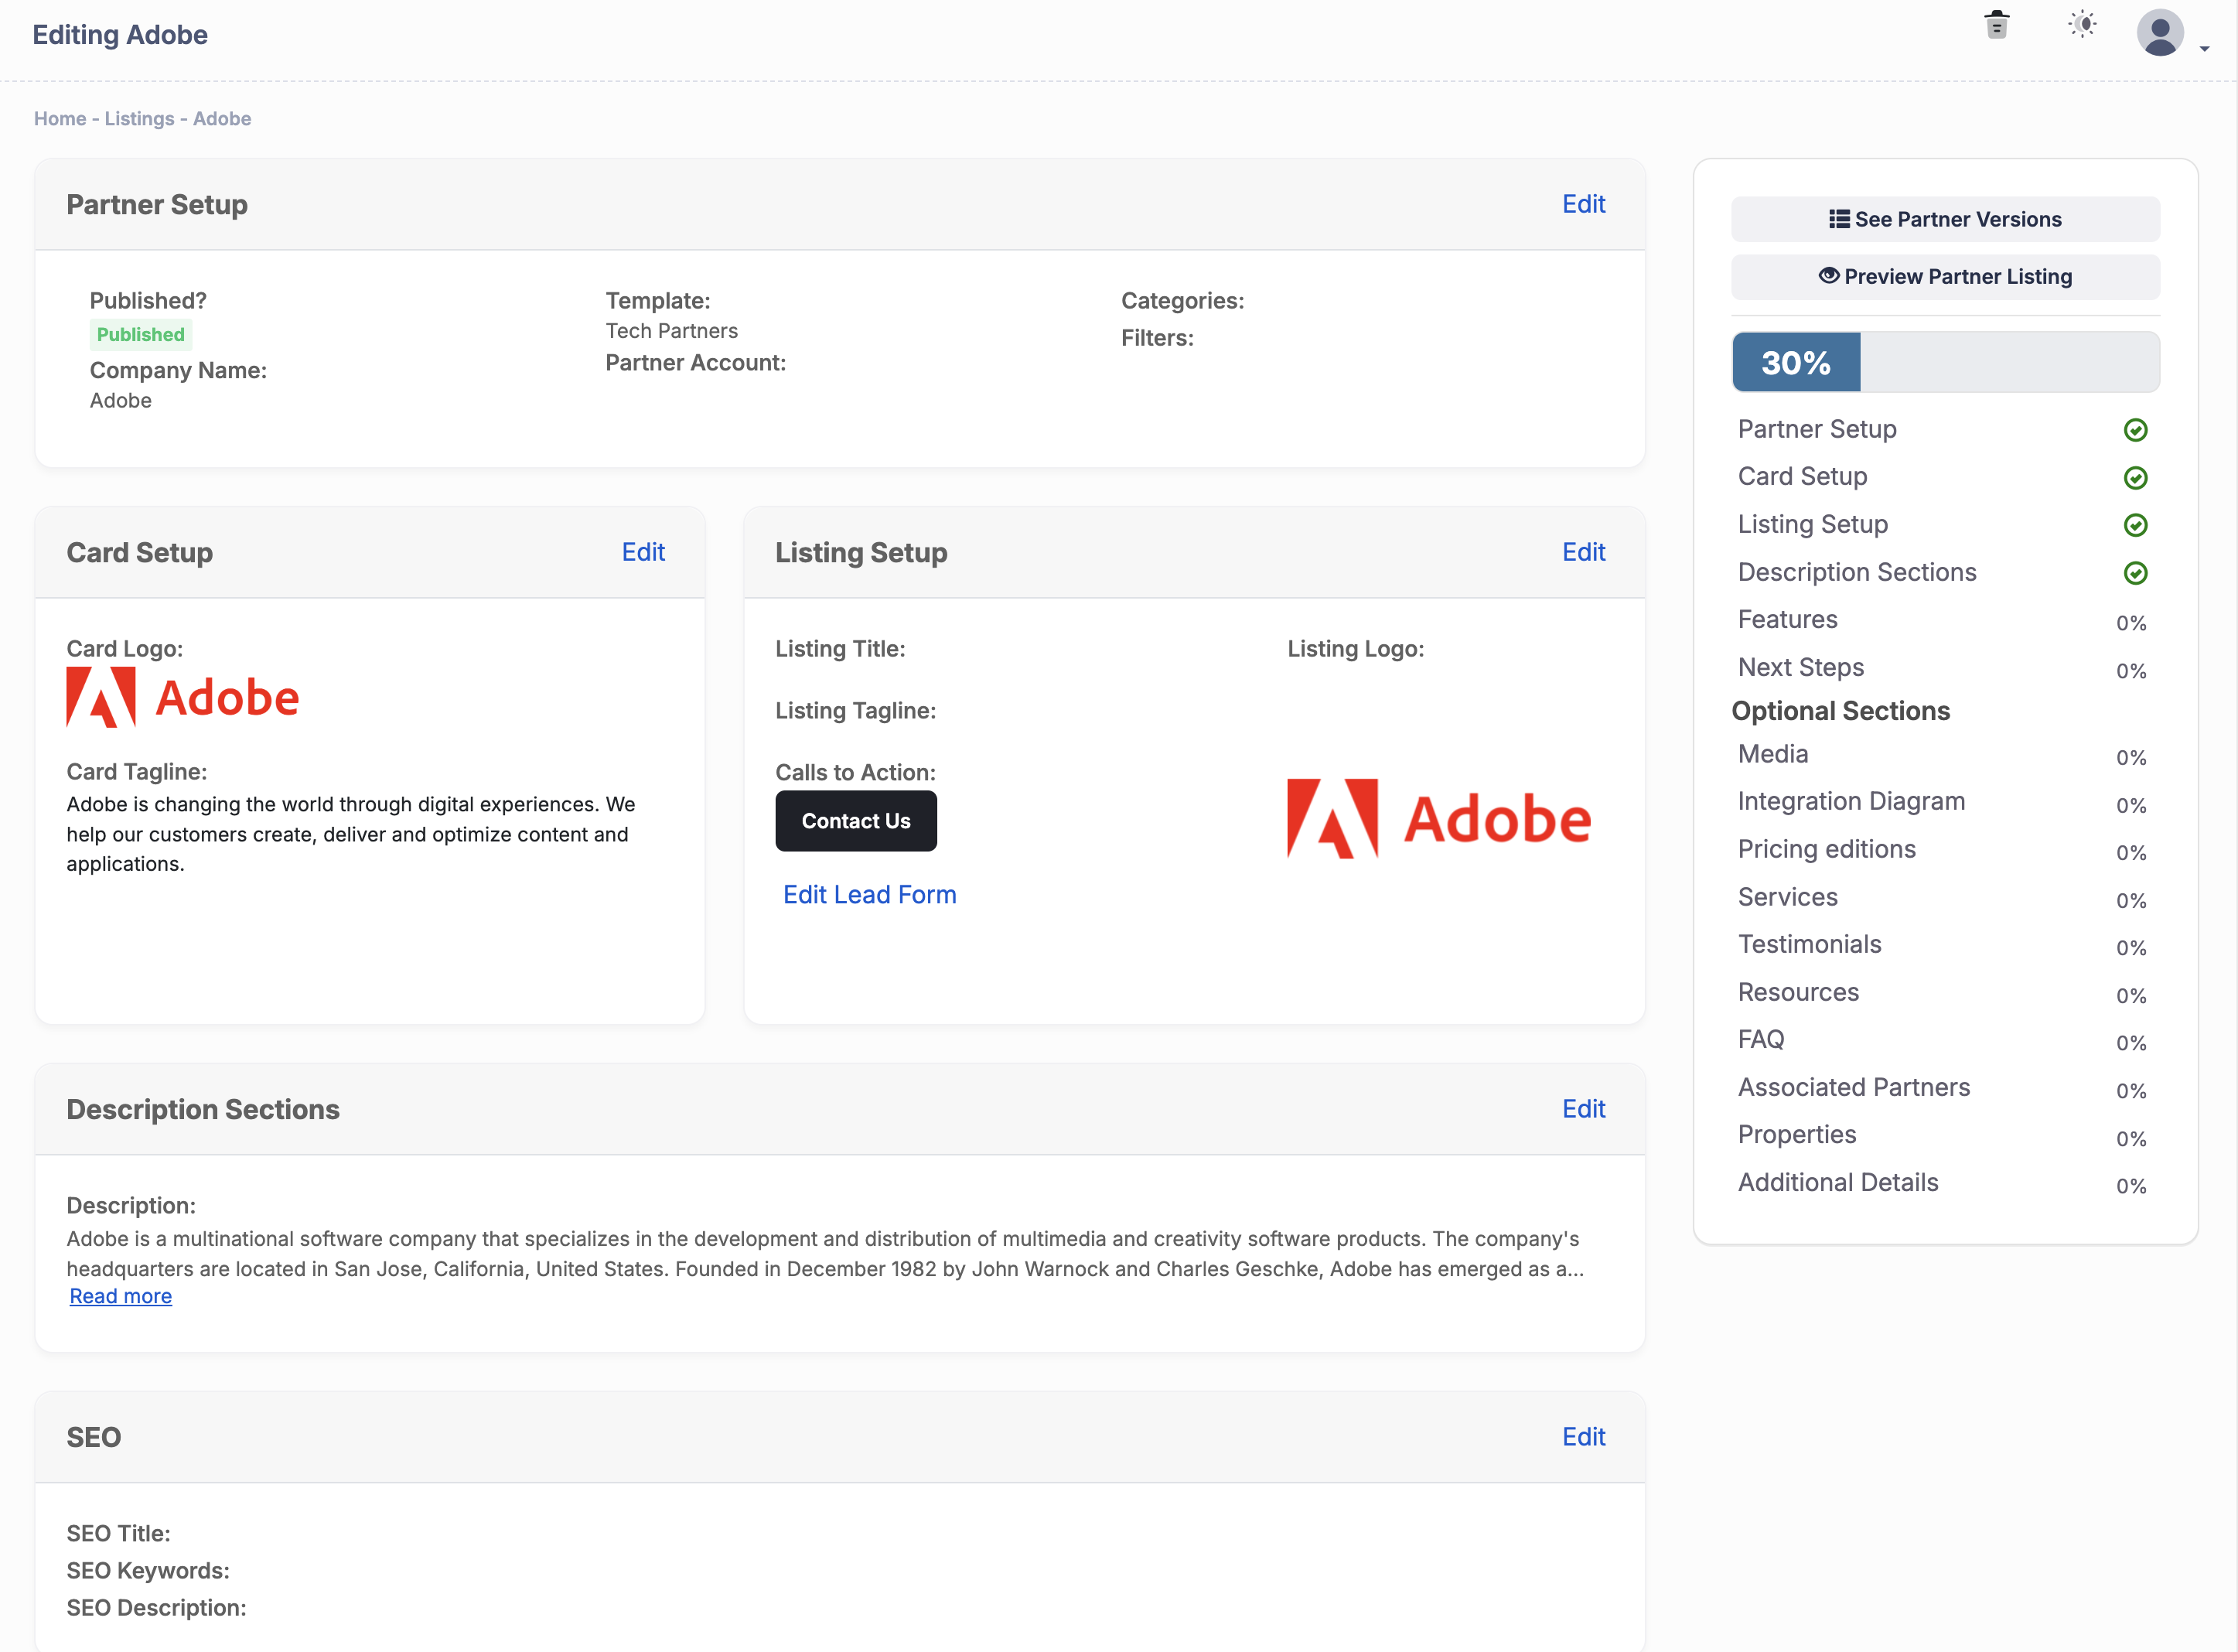
To edit any of these sections click on Edit in the top right hand corner. Below is a brief overview of each of these sections.
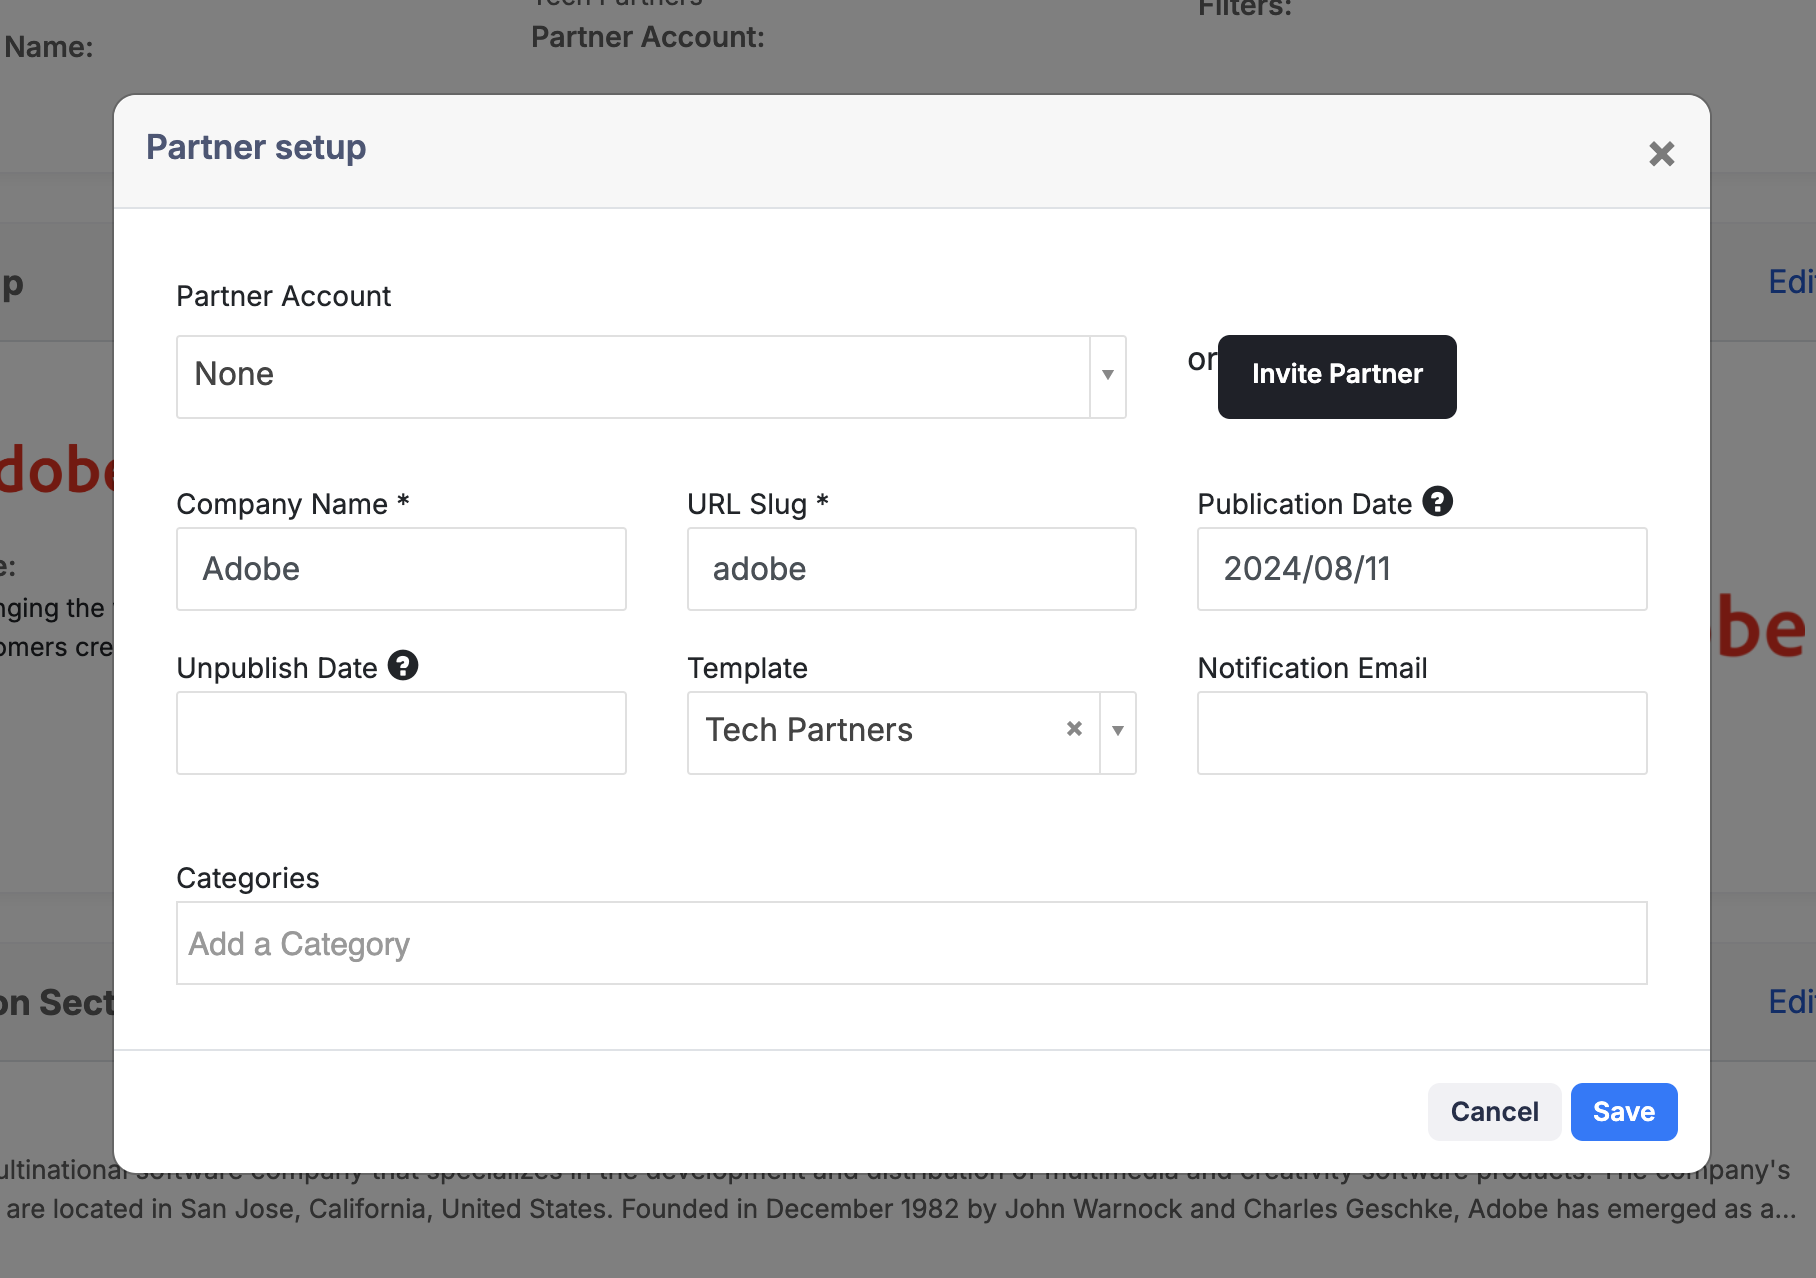
Partner setup - In this section, you can update the company name, URL slug, and template. If you have multiple marketplaces, you can also select which front ends the listing will display on.
There is the Publication Date, which is the date your listing will be live and published on your Marketplace, along with an Unpublish Date. The Partner Account dropdown and the Invite Partner button to give your partner access to update and manage the listing, along with Categories and Filter selection.
Always make sure to Save when updating any content.
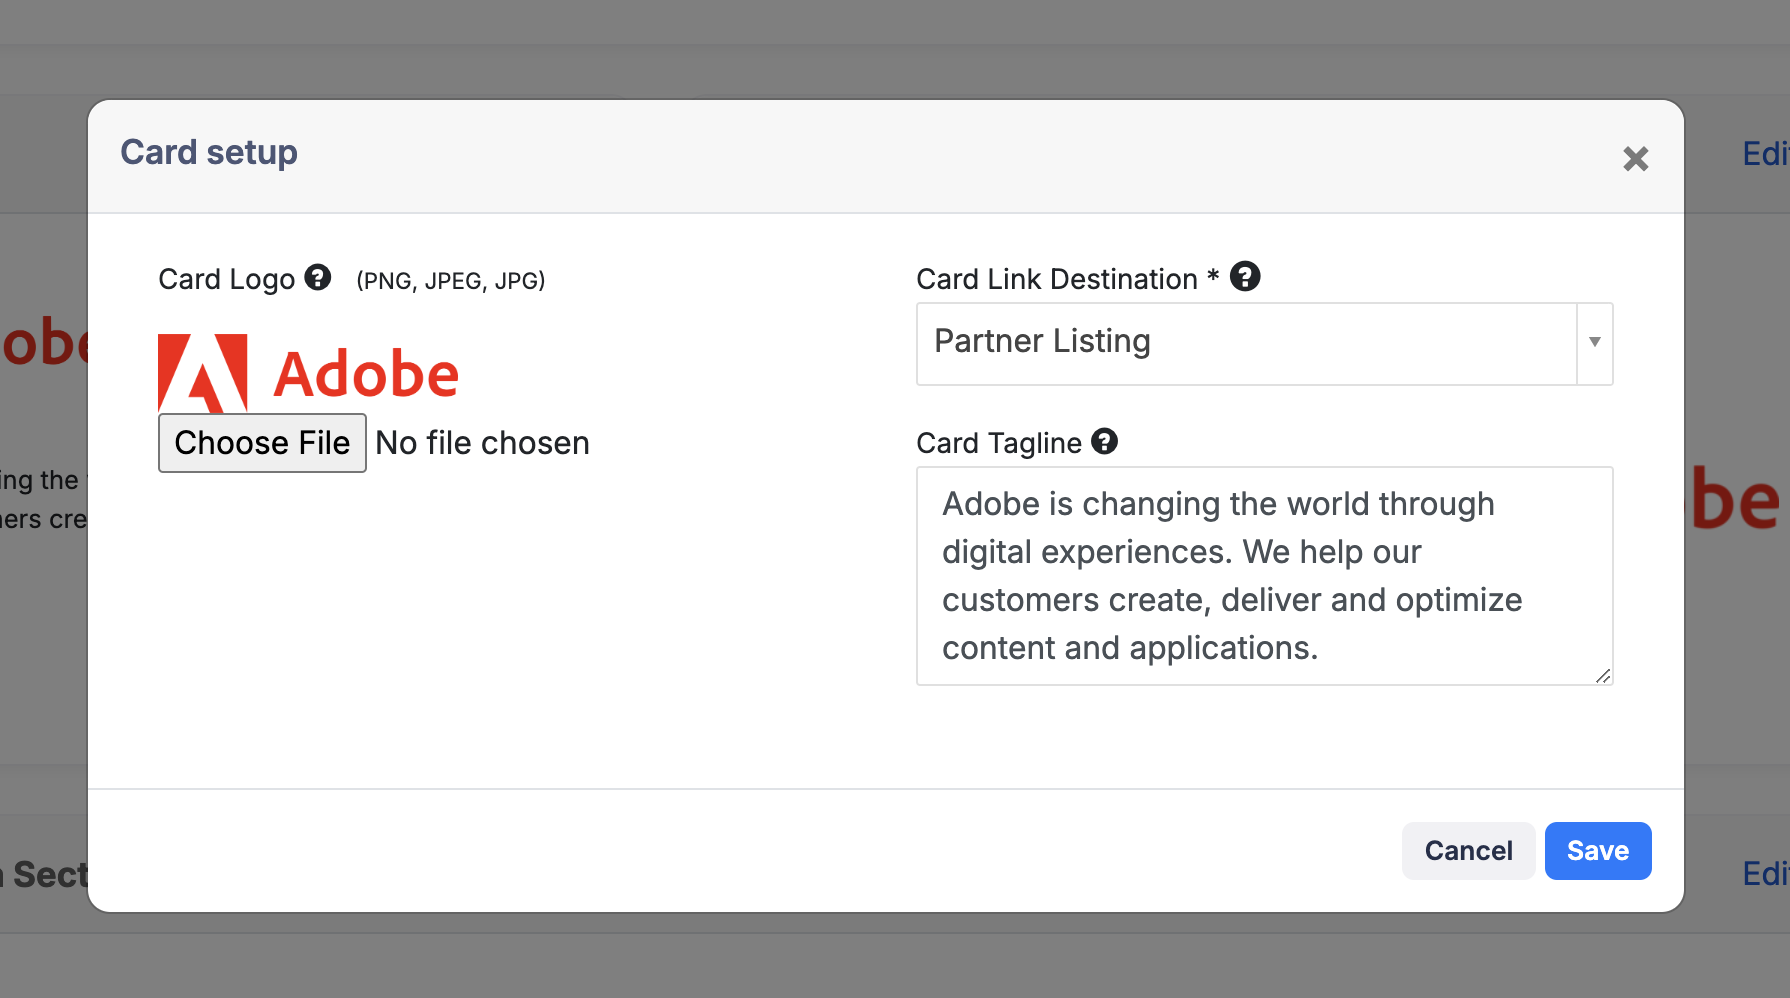
See Screenshot
Card Setup - This is where the Card Logo is added, along with selecting the Card Link Destination and adding an eye catching Card Tagline.
See Screenshot
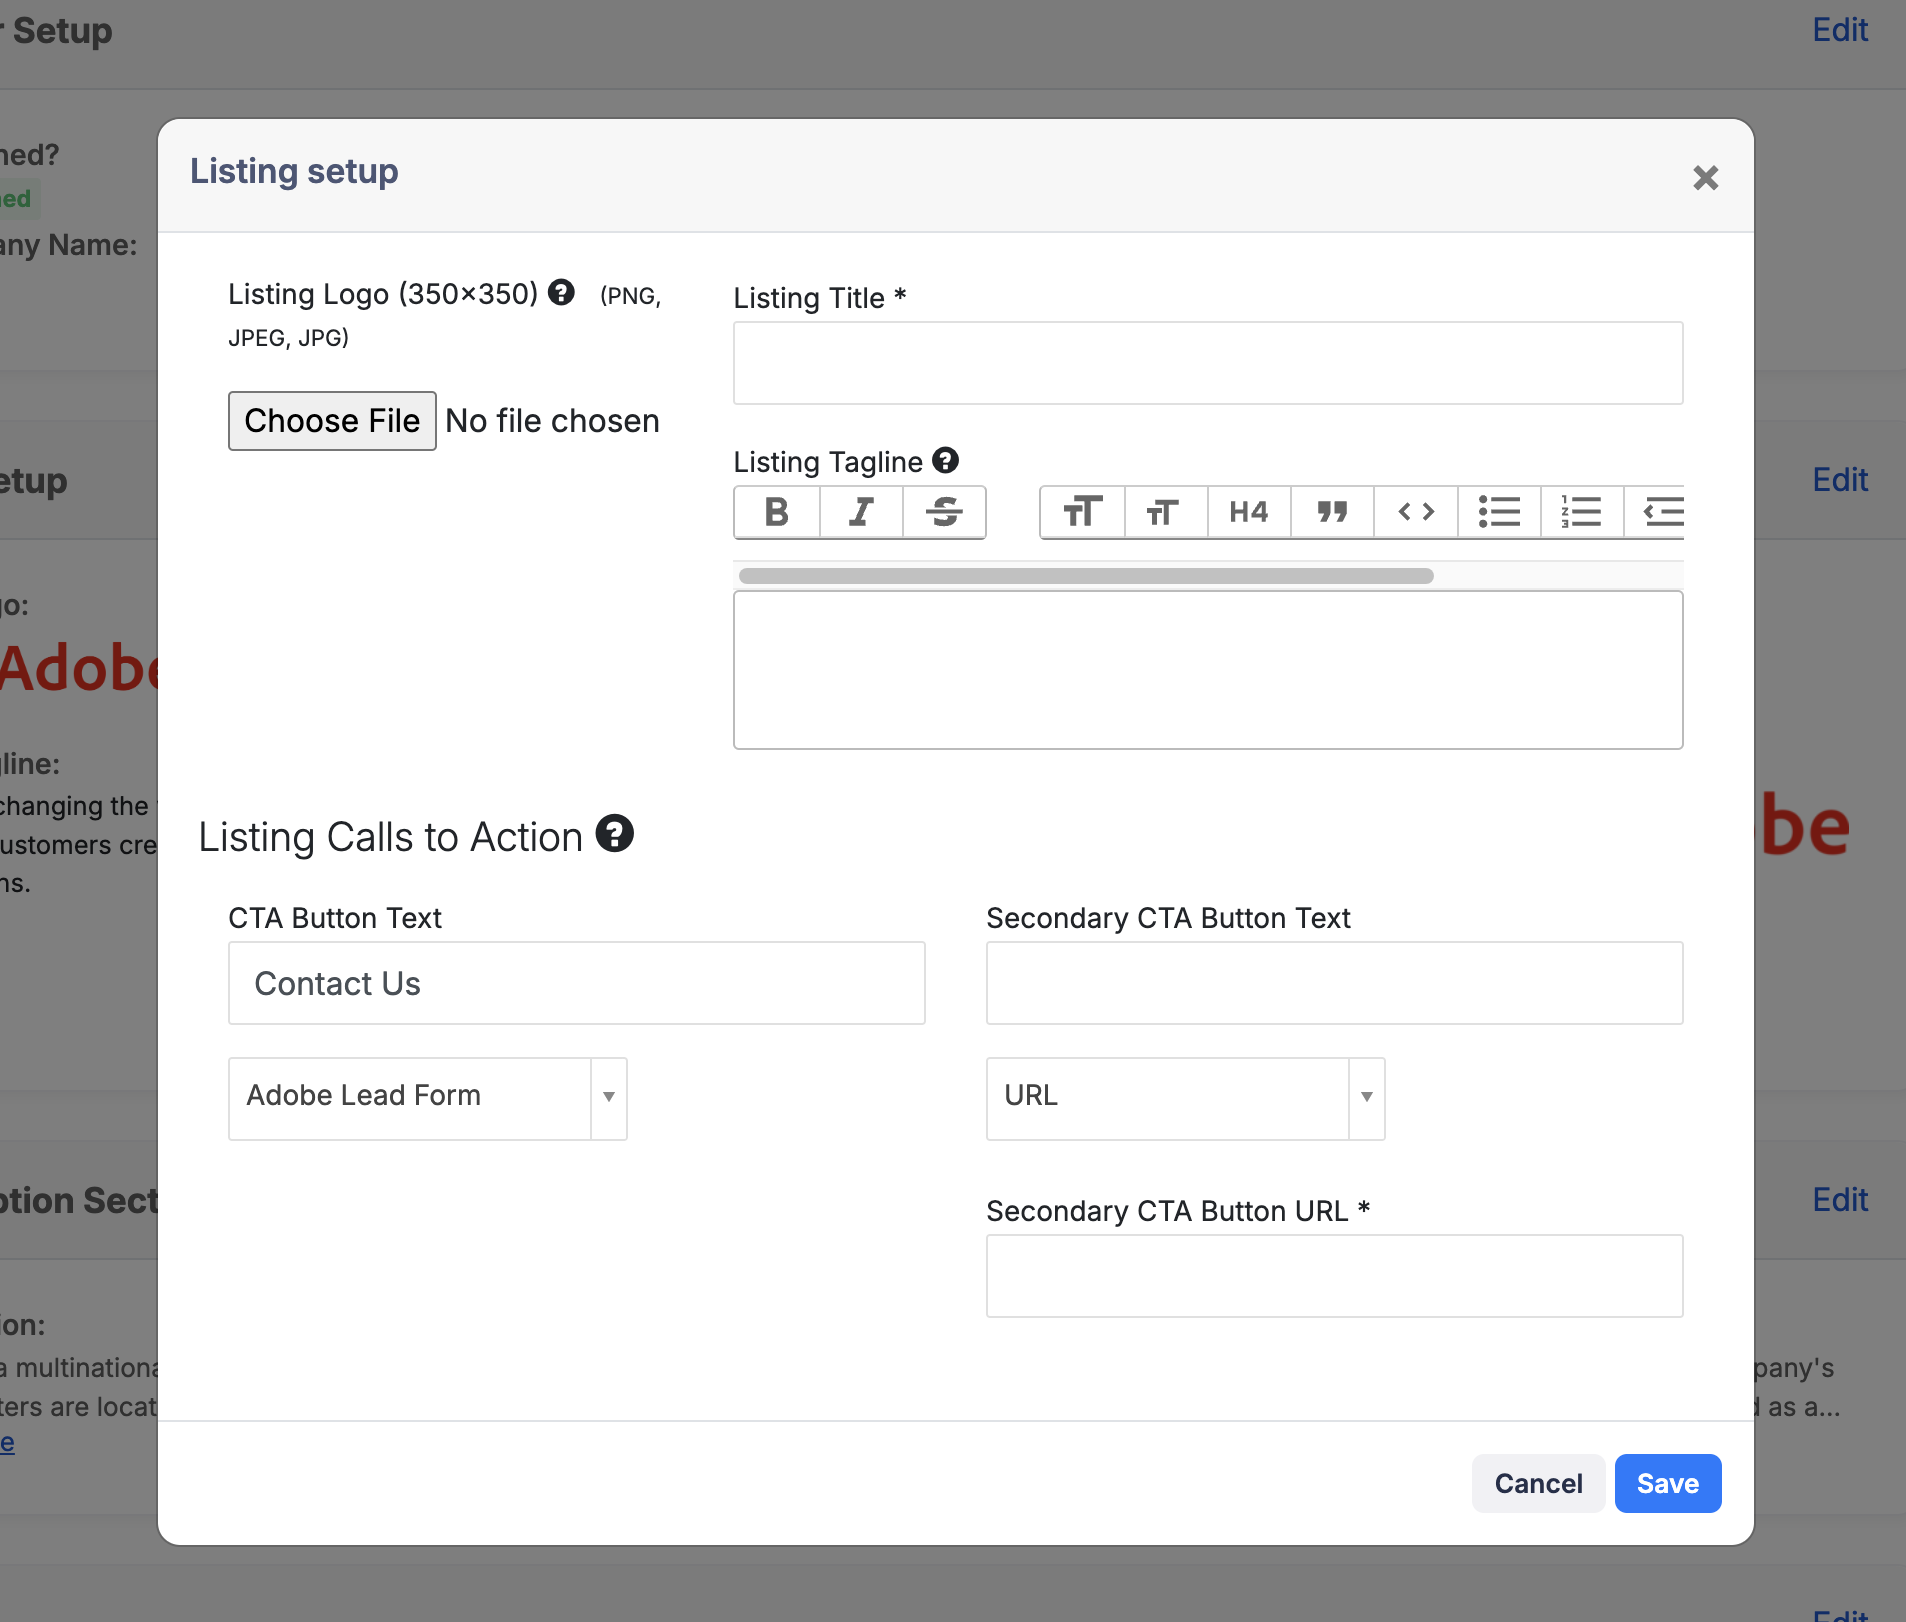
Listing Setup - In this section you can manage the Listing Logo, Listing Title, Listing Tagline and set your Button Text + destination for both Listing Calls to Action.
See Screenshot
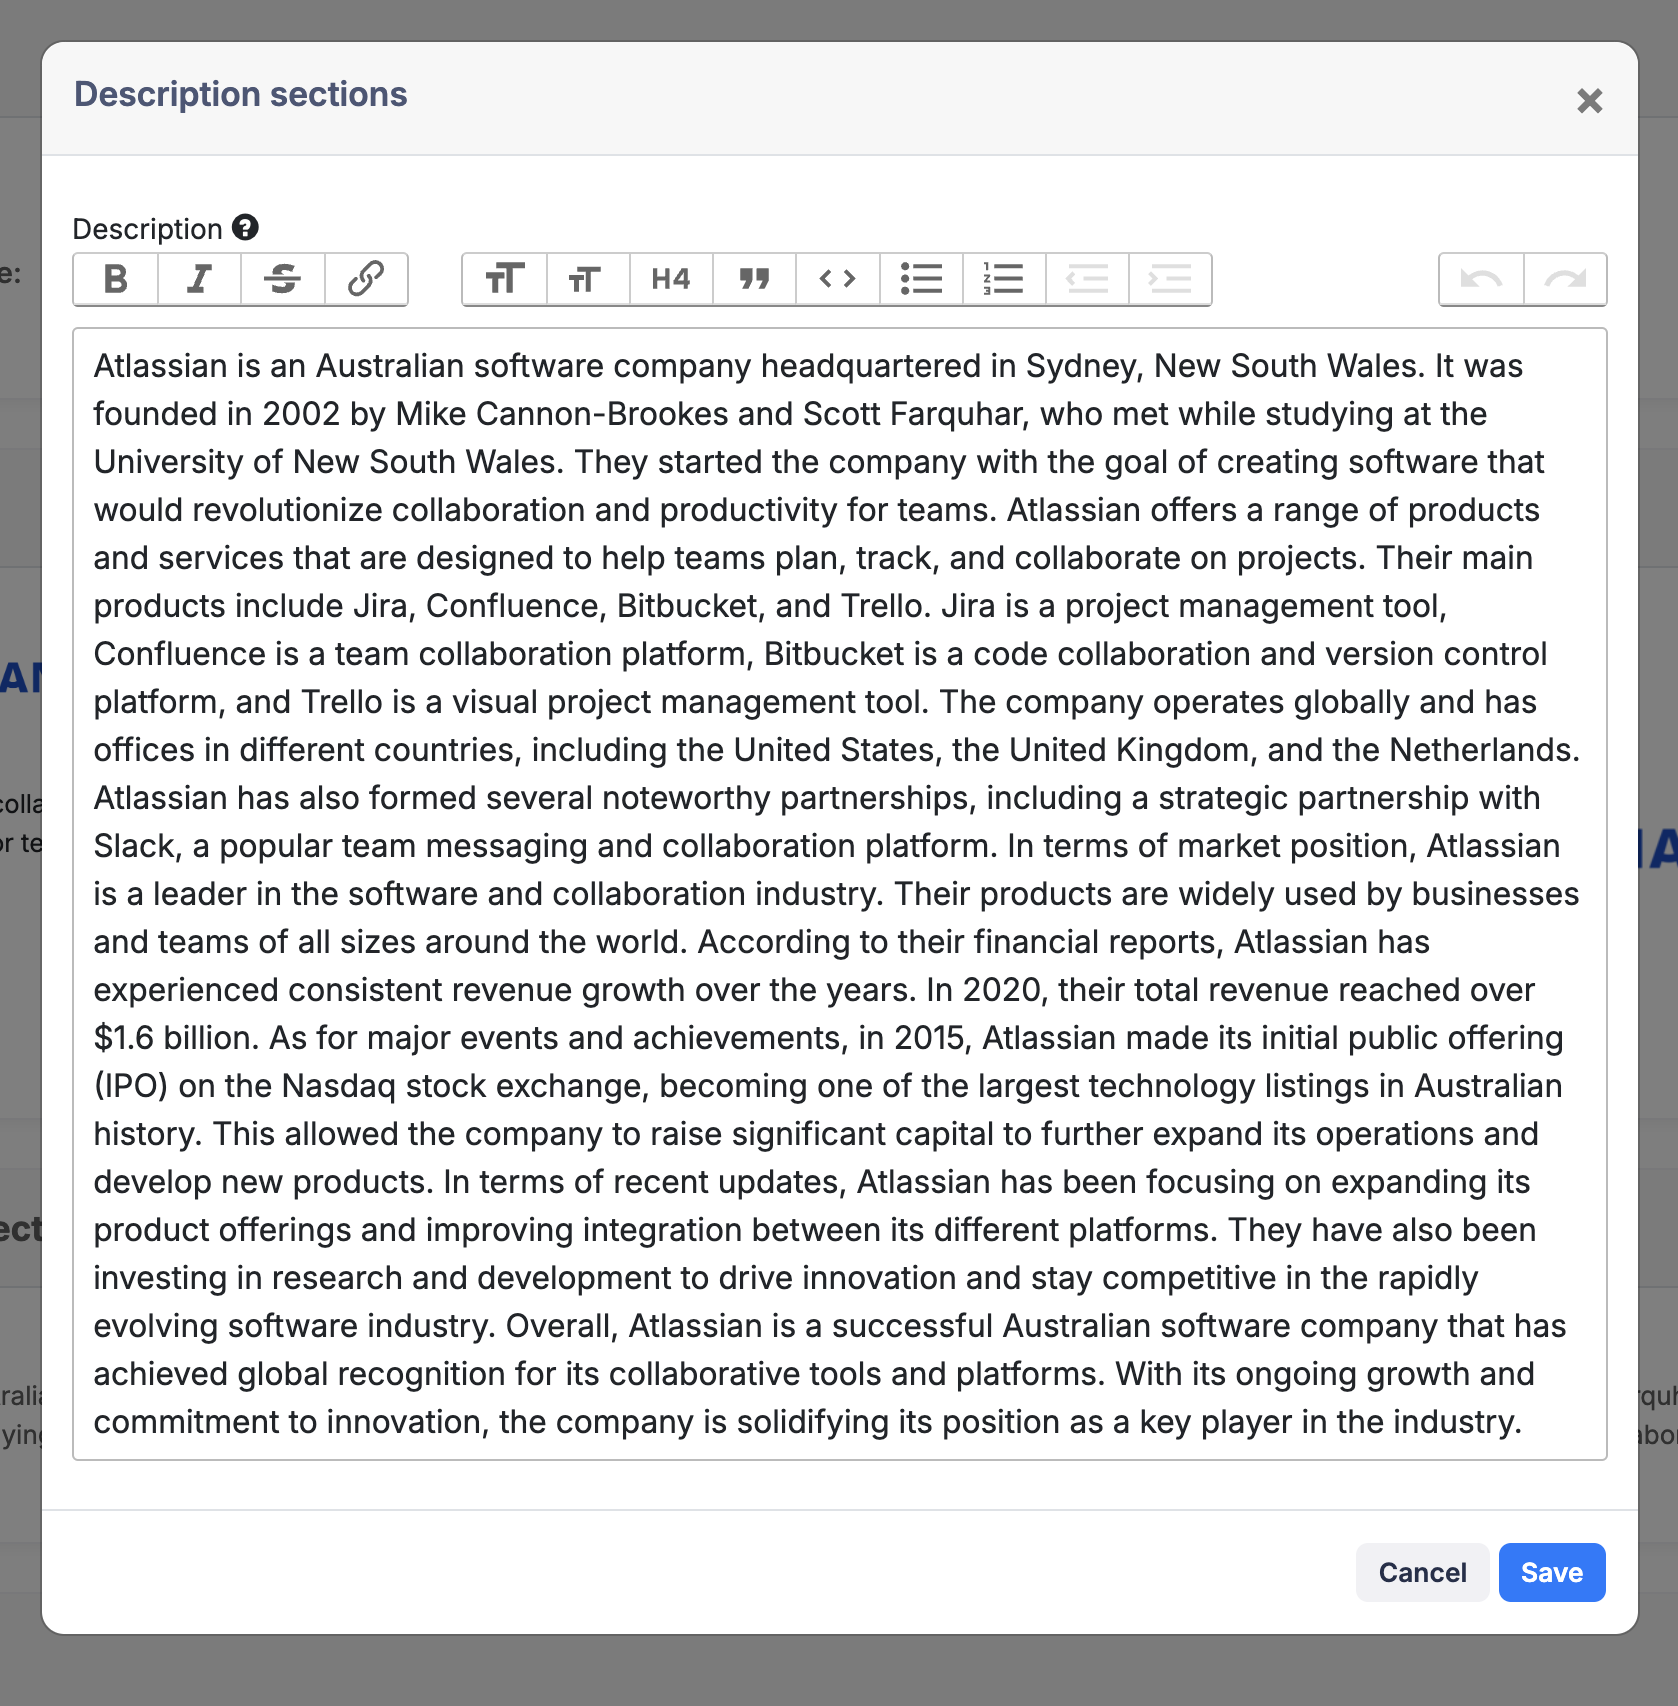
Description Sections - This is where content gets added to the rich text editor description section. Also any custom description sections that were created and added to a template.
See Screenshot
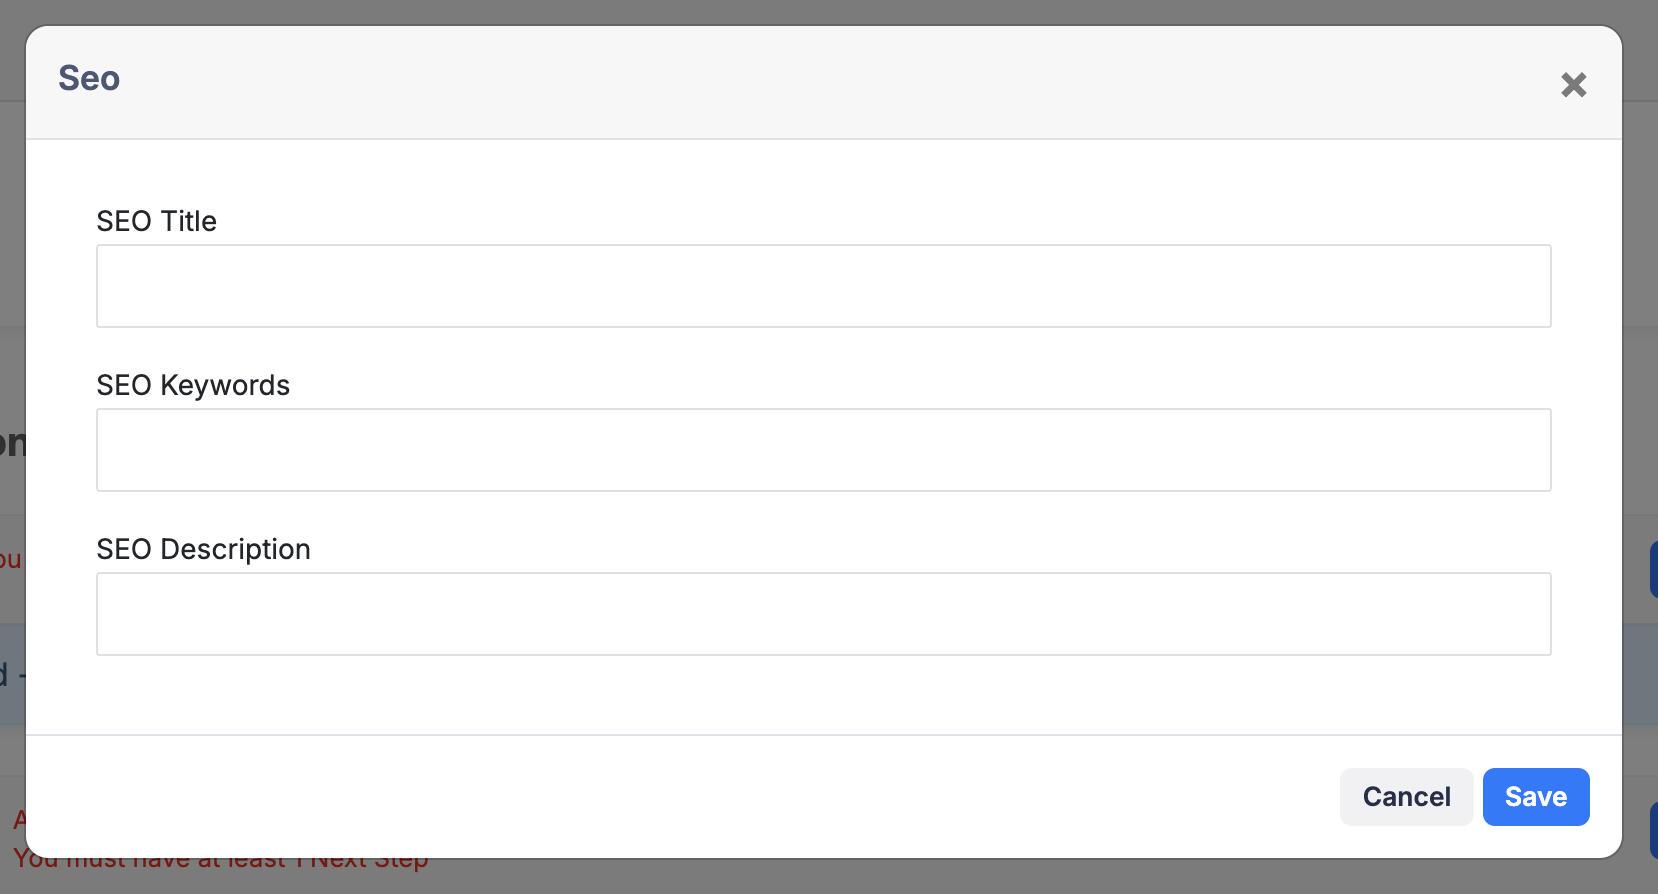
SEO- Add any additional SEO
See Screenshot
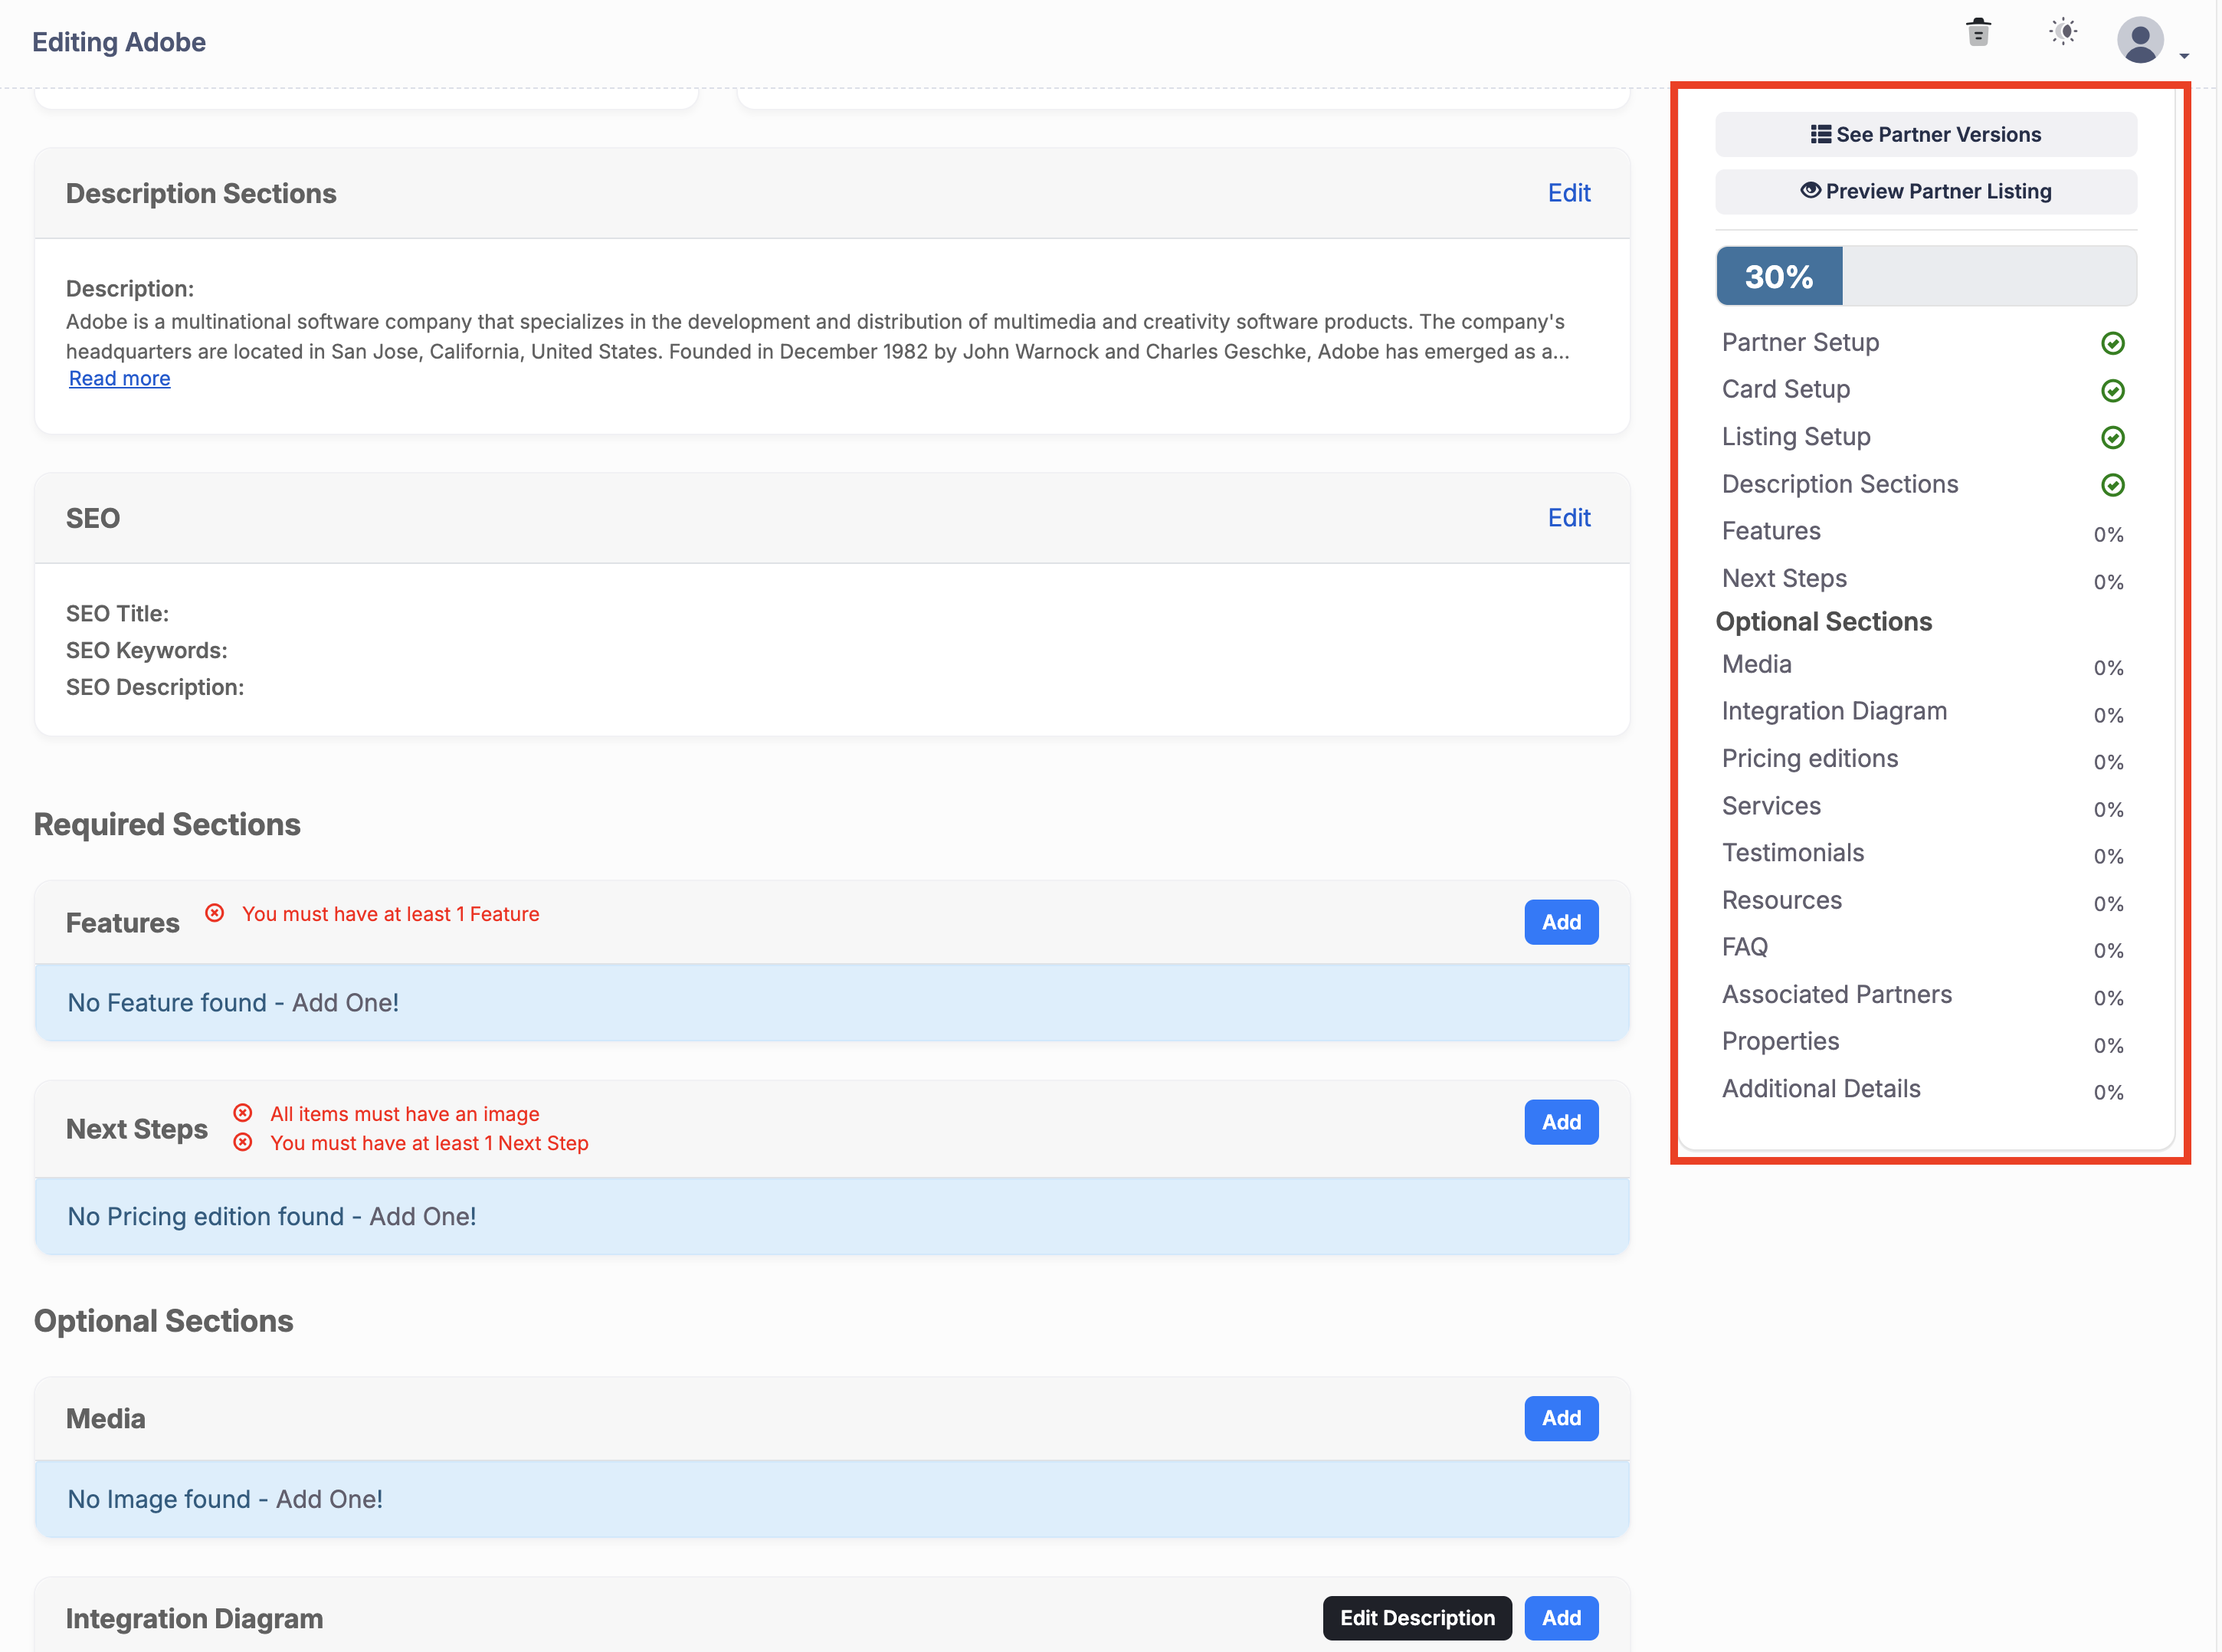
The Sidebar - You'll find the following detail in the sidebar.
See Partner Versions - Click this button to compare and review changes made in previous versions.
Preview Partner Listing - This feature opens a pop-up modal displaying how the listing will appear on the front end.
Status Bar - Displays the percentage of content added to the listing, tracking overall progress.
Required Sections - These sections are mandated by the template and must be completed before a partner can submit the listing for approval.
Optional Sections - These sections are not mandatory but can enhance the listing. Completing these sections can help achieve a 100% score.
See Screenshot
PreviewYou are able to preview the partner before the go live date by clicking Preview Partner Listing
Updated over 1 year ago